Entering or updating a large volume of setup data using Functional Setup Manager (FSM) user interface (UI) can be taxing and repetitive. Even when the setup tasks are simple; downloading, uploading, and general management of the tasks using the setup task UI is not the most efficient method.
With FlexDeploy’s Oracle SaaS FSM plugin you can migrate setup data in bulk using CSV file packages. CSV File packages manage the setup data of a specific task. They allow easy migration into other Oracle SaaS environments.
In this blog, you will see how to leverage the FlexDeploy Oracle SaaS FSM Plugin to make deployment of setup tasks a breeze. Today we will be showing off an example application with respect to Human Capital Management (HCM). However, FlexDeploy’s FSM support would apply to all Oracle Fusion Applications such as Supply Chain Management, Sales, Enterprise Resource Planning, and etc…
Let’s begin.
Create FlexDeploy Components using Blueprints
We will need to configure the necessary components in order to start exporting/importing Setups in Oracle FSM. As a quickstart, we can use FlexDeploy’s Blueprint feature to generate a template.
FlexDeploy Blueprint
From the navigational bar, click the + and then click Create Project.

Type in FSM in the filter on the blueprints screen and click Oracle SaaS FSM.

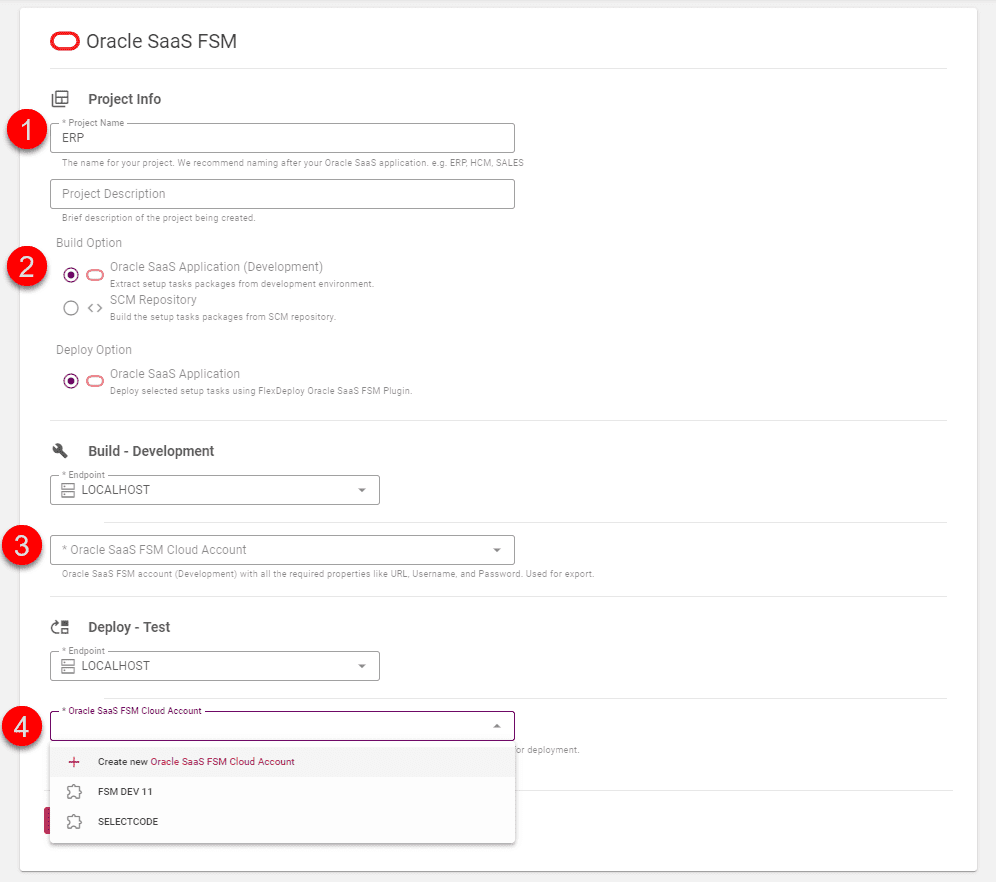
- Choose an appropriate name for your project. I will go with the default of “ERP”.
- Under Build Option, choose “Oracle SaaS Application” if you want to source your CSV file packages directly from a development FSM environment. Alternatively, select “SCM Repository” if you want to source from source control management (SCM) repository. I will choose “Oracle SaaS Application”.
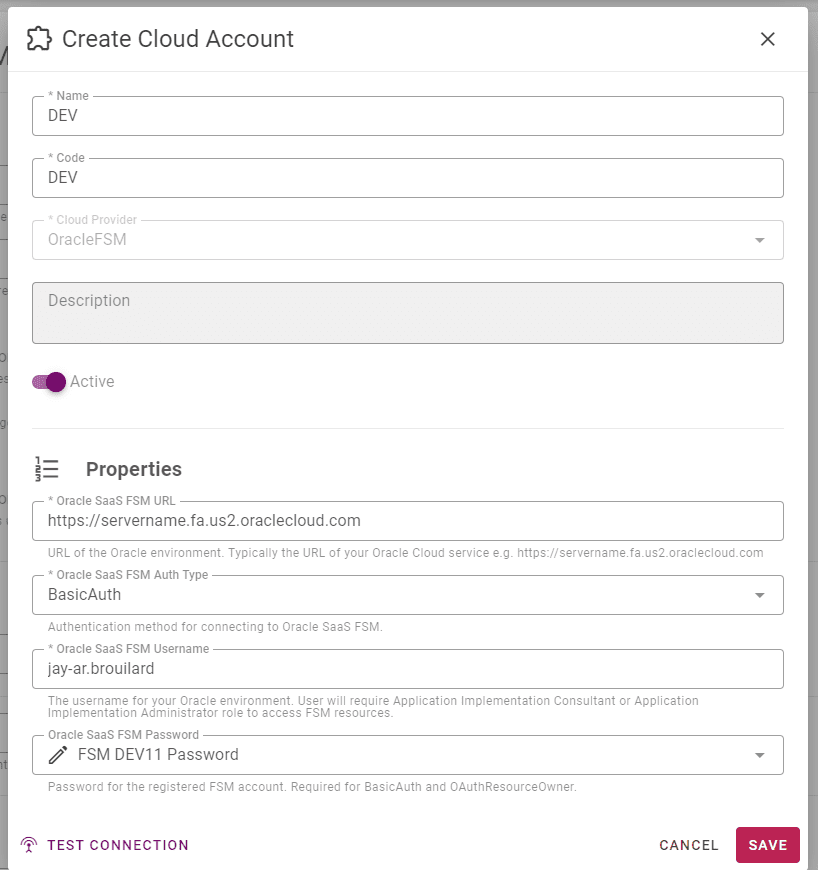
- Under “Build – Development”, this is where you’ll create or select an account containing the credentials necessary to connect to the cloud environment. If this is your first time on this page, you will click Create new Oracle SaaS FSM Cloud Account and provide an account name, URL, Username, and Password.
- Repeat the instructions of step 3 except this account will be the environment you want to migrate/deploy setups to.
Below is an example of the account creation. Once your details are typed in you can click Test Connection to validate. Make sure to click Save aswell.
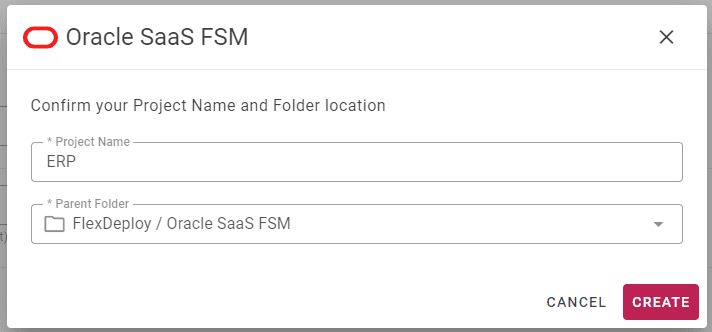
The blueprint form is completed. Click Confirm at the bottom of the page. You will get a popup asking to confirm the project name and folder location. Optionally, pick a new folder location then click Create. I will go with the default folder “FlexDeploy/Oracle SaaS FSM”.
After clicking Create, FlexDeploy will open the new FSM project for you.
Review Configurations
After using the blueprint we should have the following created for us:
- One or more Oracle SaaS FSM Cloud Account(s)
- A build and deploy workflow
- A Target Group named after the project with 2 mapped environments
- A project, ERP, located under FlexDeploy/Oracle SaaS FSM
It’s a good idea to review what was created before we start the build and deploy process.
Oracle SaaS FSM Cloud Account
Navigate to Configuration -> Integrations using the menu bar.
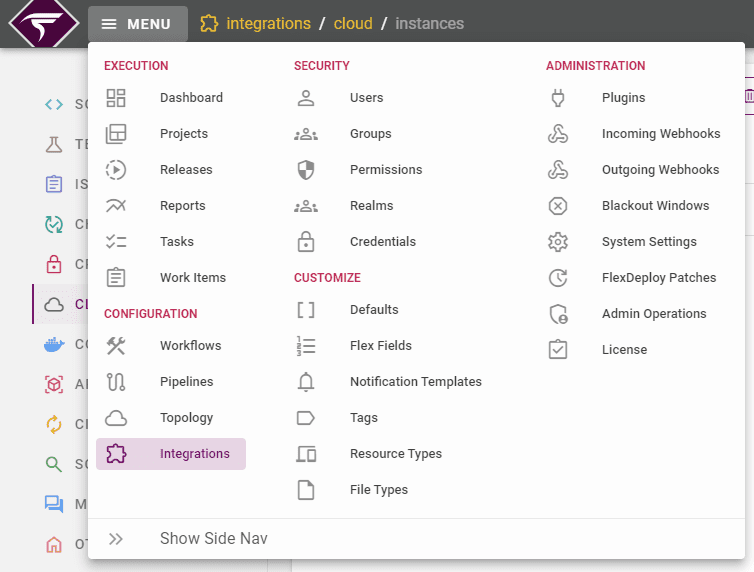
Click on Cloud tab. You will find the OracleFSM account made during the blueprint phase. If account details should change you can update them here.

Targets
Navigate to Configuration -> Topology using the menu bar.
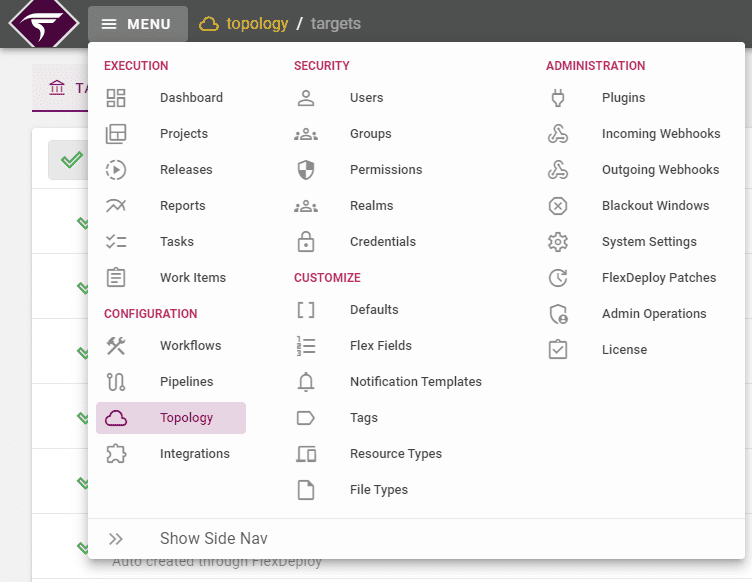
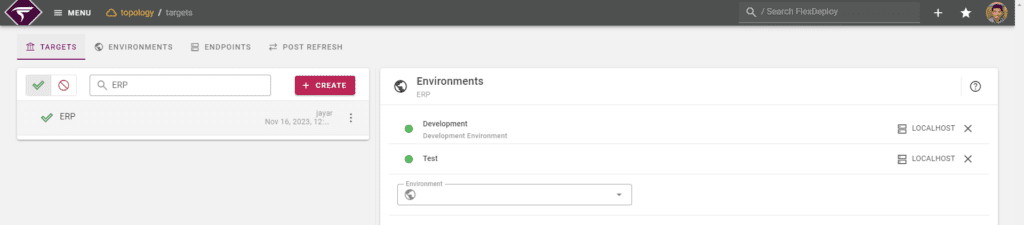
You should find a target group named “ERP”. Click on the “ERP” target group, then you see 2 environments mapped. In our case, those environments are named “Development” and “Test”.
The target defines the environment-specific properties required to communicate to the underlying technology. For example, the ERP -> Development target will point to some Oracle Cloud environment and ERP -> Test target will point to another Oracle Cloud environment. This is important once we start executing builds and deployments.
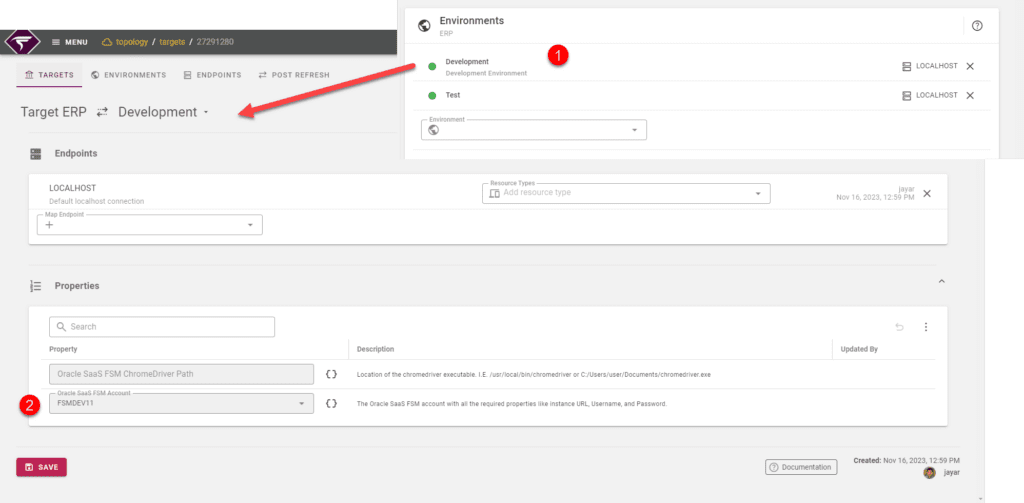
Come back to this screen to map more deployment environments as desired.
Build and Deploy Workflows
Navigate to Configuration -> Workflows using the menu bar.
FlexDeploy utilizes workflows to determine what steps and operations will be used during build and deploy processes. The blueprint would have created two workflows for you named “Build FSM Setup tasks” and “Deploy FSM Setup Tasks”.
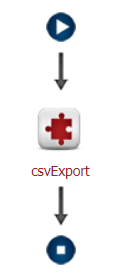
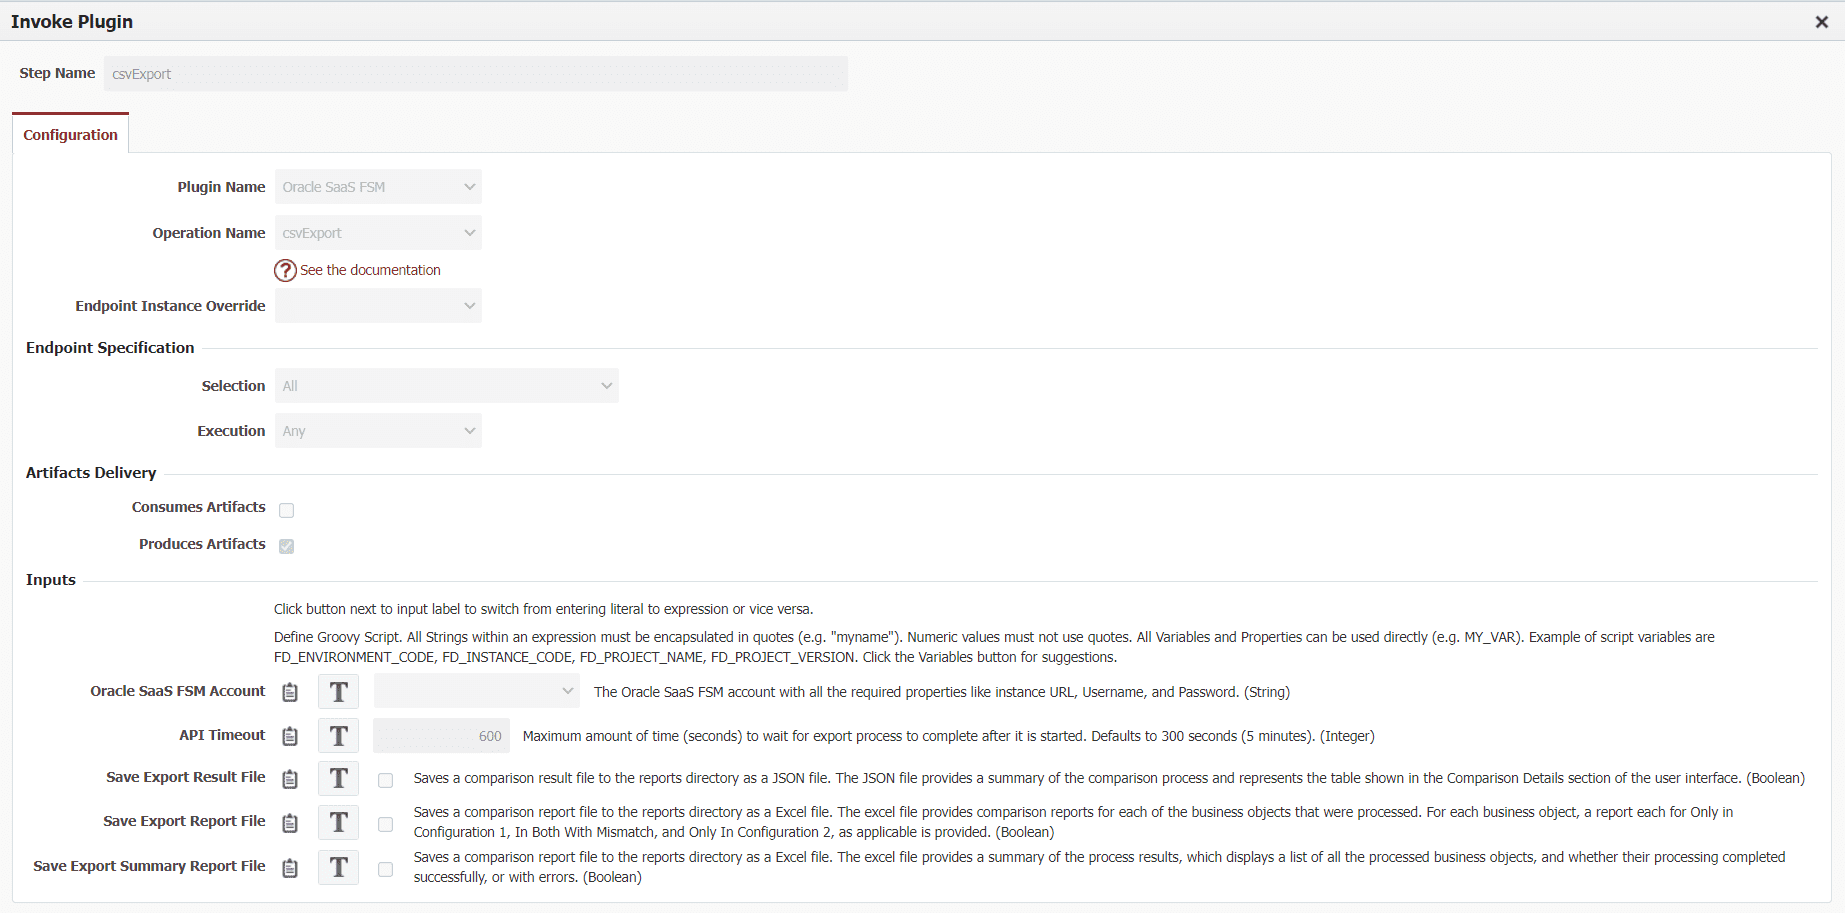
Build Workflow
The build workflow will look like the following. A single csvExport step.
When configuring the csvExport you will also need to keep in the mind the following options:
- Oracle SaaS FSM Account – This dropdown value will override the account we selected in the environment instance in the topology. I suggest only setting this value for testing purposes or if you don’t need to deploy to multiple environments. For those reasons I have not set it here but the option is available.
- API Timeout – It takes time to process export setup tasks. This is the maximum amount of time our workflow should wait for each individual file package to export. If it takes longer than 5 minutes (default value), the execution will fail.
- The rest of the inputs are for reporting purpose only. Check these if you would like FlexDeploy to download a specific report after the export has completed. These are the same reports you could download from the FSM UI.
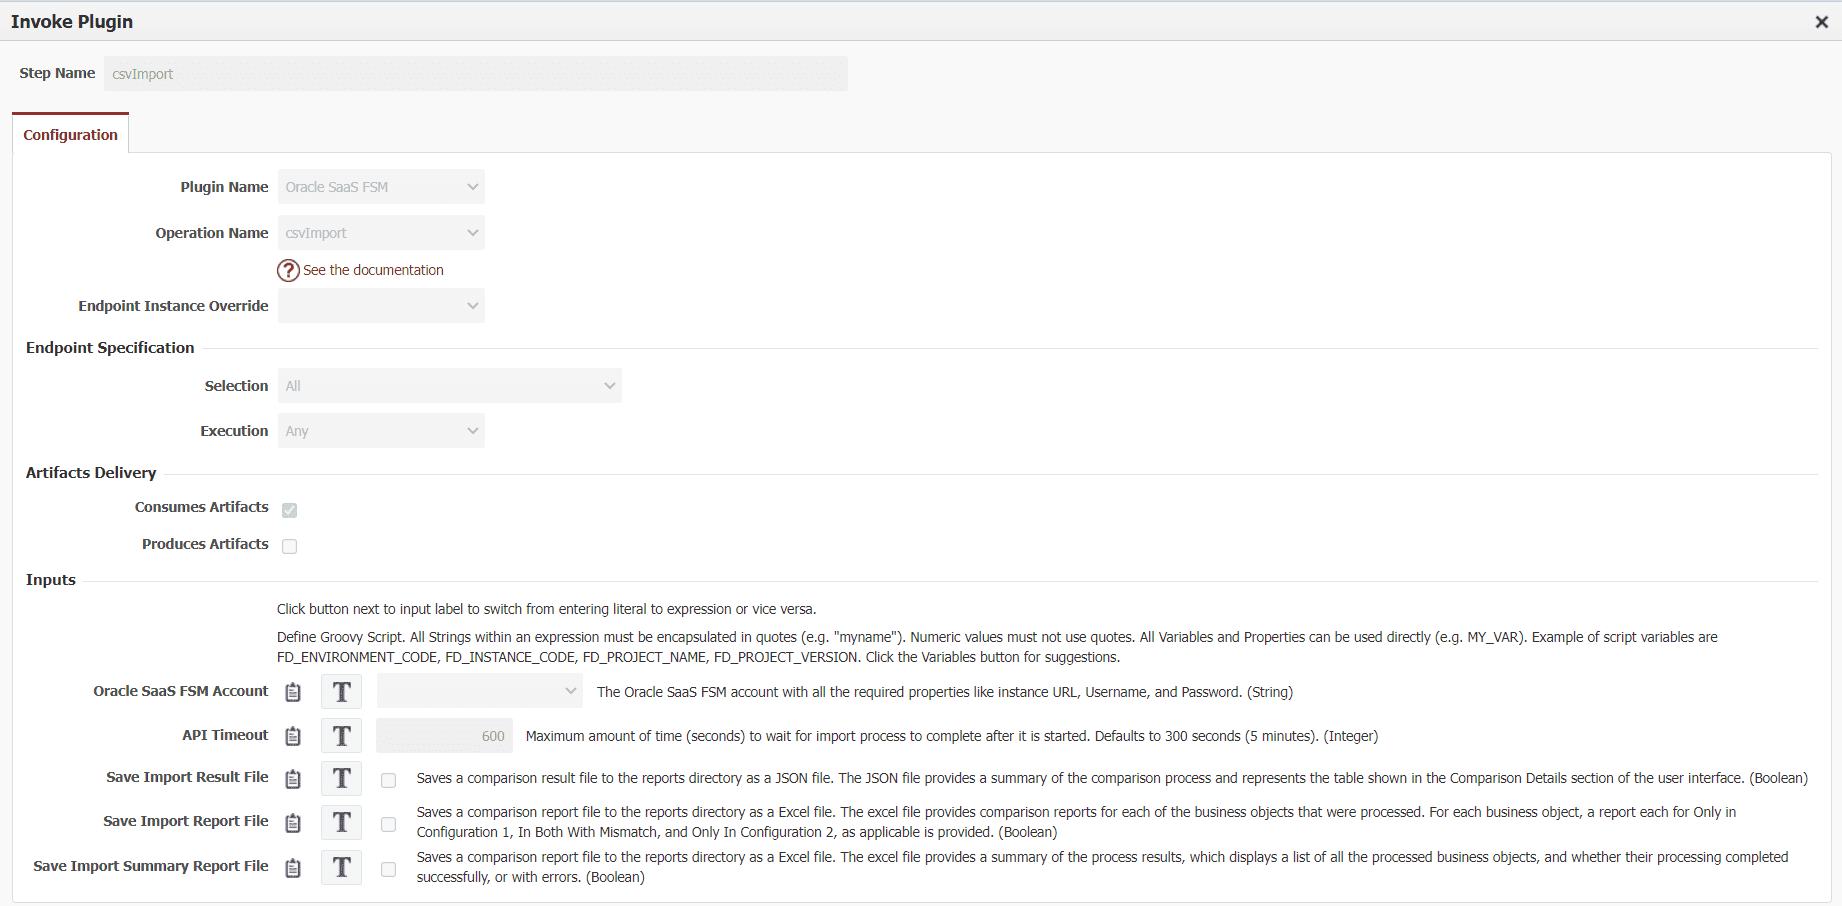
Deploy Workflow
In the same fashion, the deploy workflow is a single csvImport operation.

The csvImport has the same inputs as csvExport, except of course the report files would contain data about import.
Project
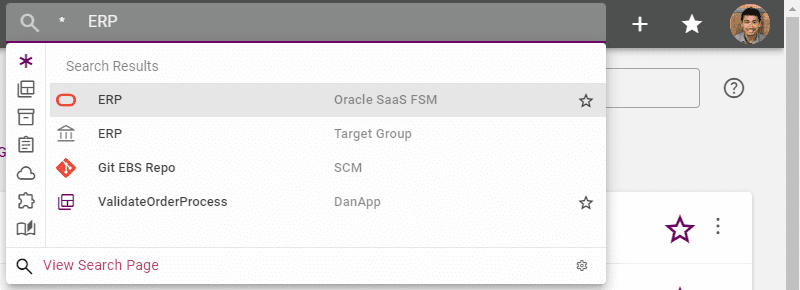
We’re almost there! Go to your project quickly using the search bar and searching “ERP”.
Are DevOps and CI/CD really that important? Or are they just shiny objects?
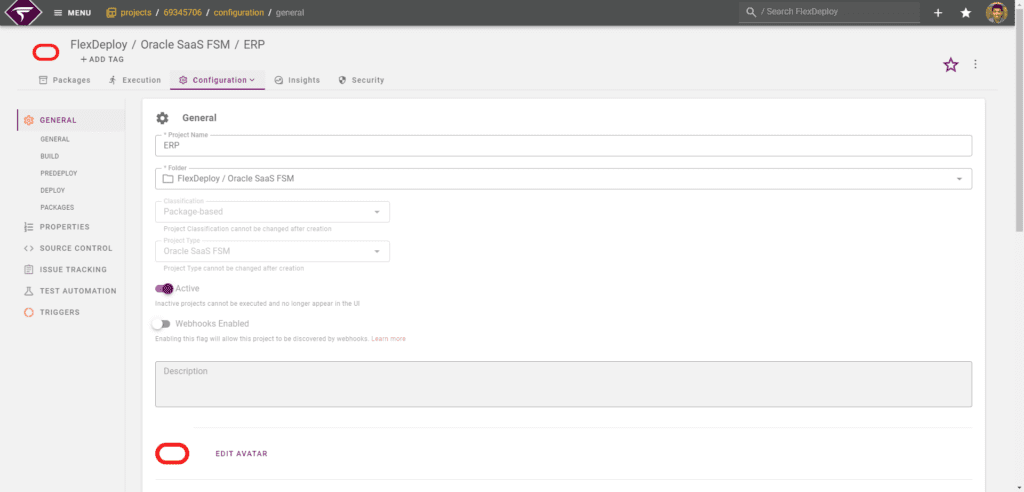
Project Configuration
The configuration portion of the project is used to define properties unique to the project including the build and deploy workflow, target group, and SCM.
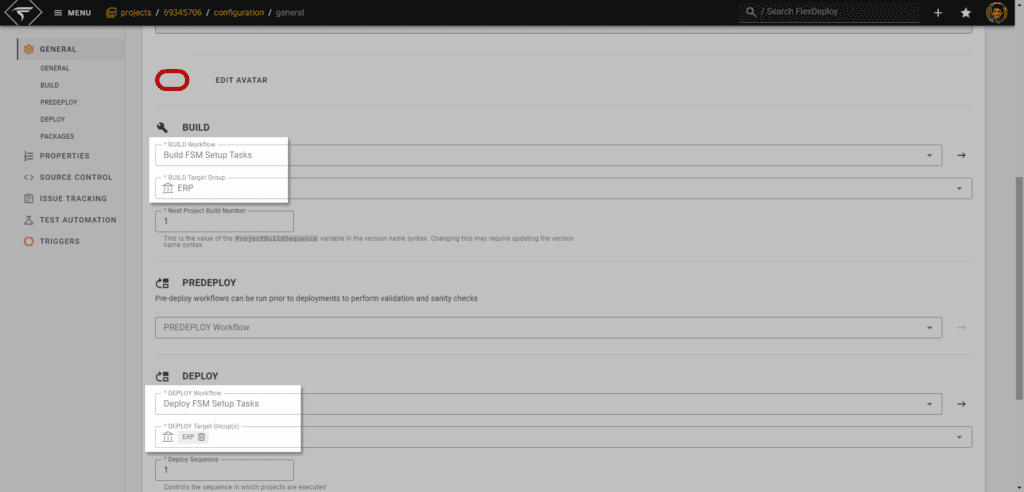
Scrolling down on the above page you will see the blueprint selected both build and deploy workflows and the target group “ERP” from topology.
File Catalog – Create or Discover your files
Now that our project is set up, we need to populate some file. To do so:
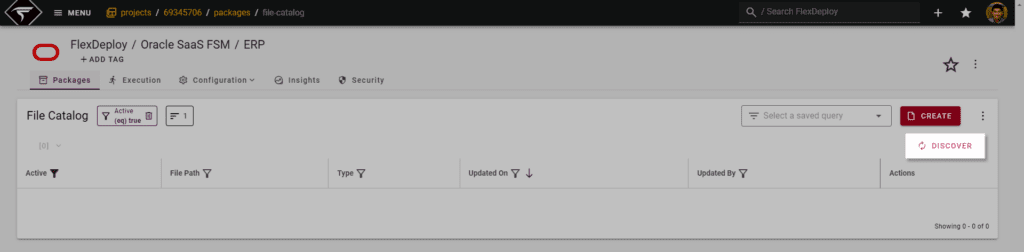
- Navigate to the File Catalog on the project (Packages -> File Catalog)
- Click Discover and wait up to 10 minutes while FlexDeploy can find all Setup Tasks on your build Oracle Environment.
- Recall if your project was configured to source from SCM and not an “Oracle SaaS Application”, then the files would come from that repository.
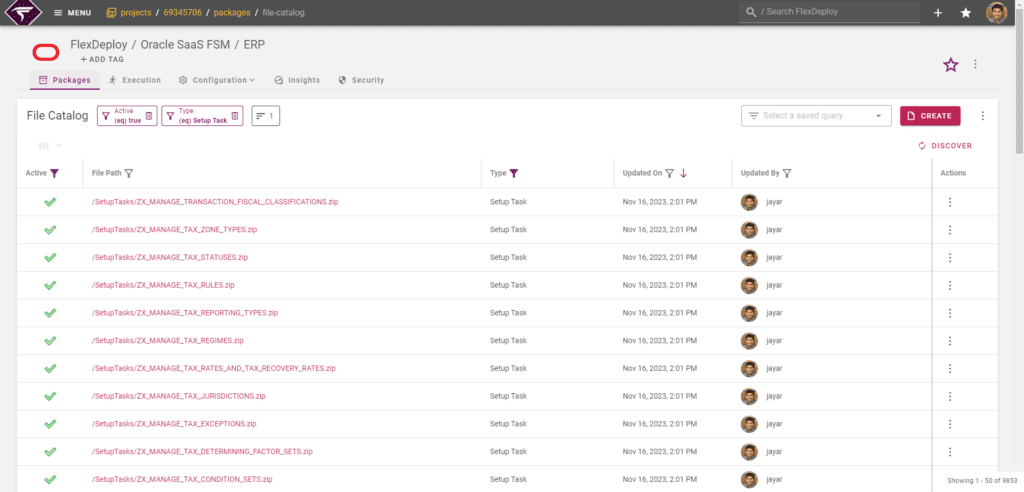
After Discover is complete your File Catalog will be populated with all exportable Setup Tasks (and other object types) on your development Cloud environment. Around 2200+ Setup Tasks.
Example Adhoc Build and Deploy
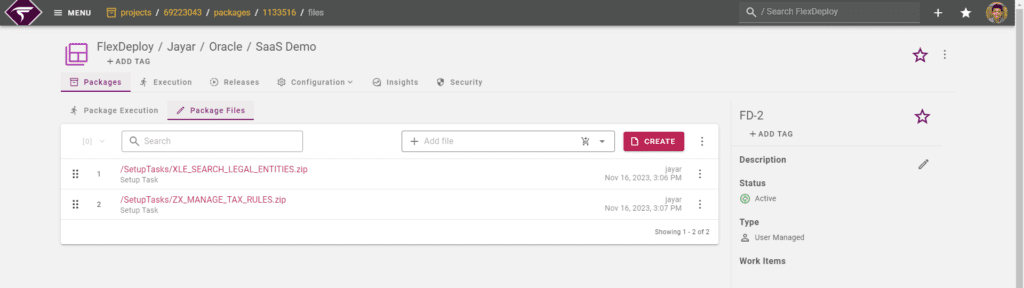
We go to Packages tab, create a package named FD-2 and add files from the file catalog we are interested in. In this case, we’ll migrate a Setup Task for Legal Entity and another for Tax Rules.
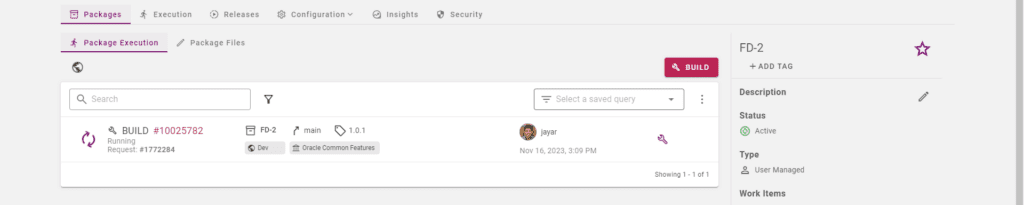
After submitting the build from Package Execution or Execution screen, each setup task file will be sequentially exported into a single zip artifact. Then saved on the FlexDeploy server. Essentially, this is the same process as logging into your Oracle SaaS environment, downloading CSV File package for each task, and packaging those into a single zip file.
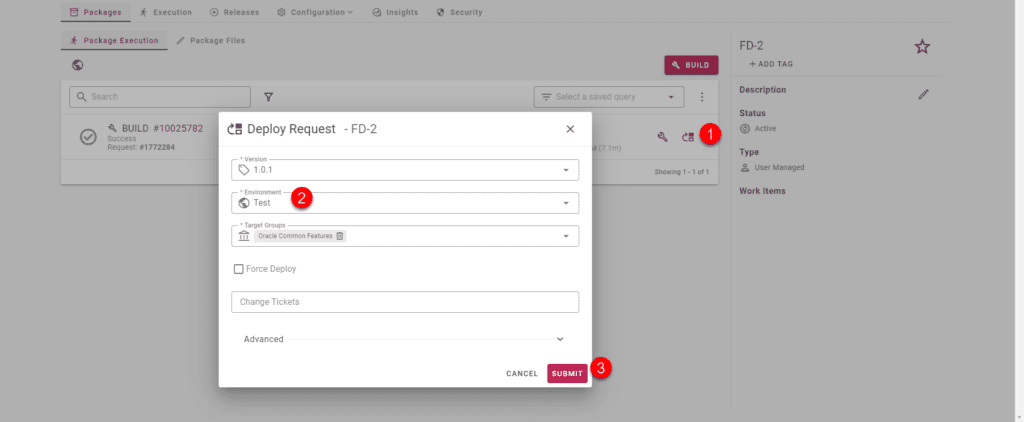
Once the build is complete, let’s deploy our FD-2 package to the Test environment.
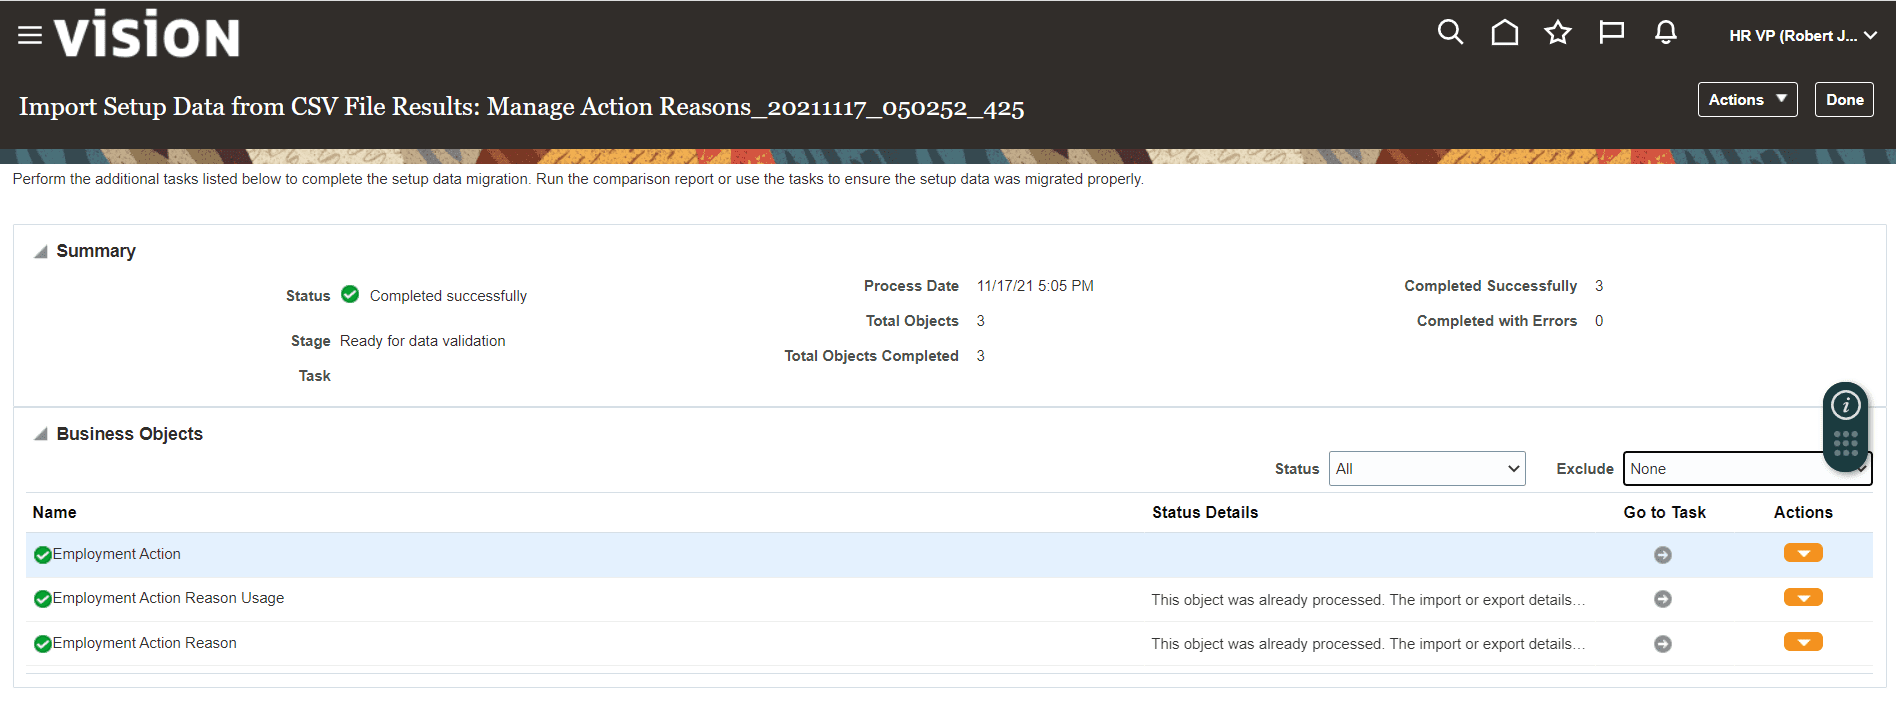
After deploy is successful, optionally check the deployment was successful within your target Oracle SaaS FSM environment.
You can use the Actions button to view any export or import processes executing for a given Setup Task.
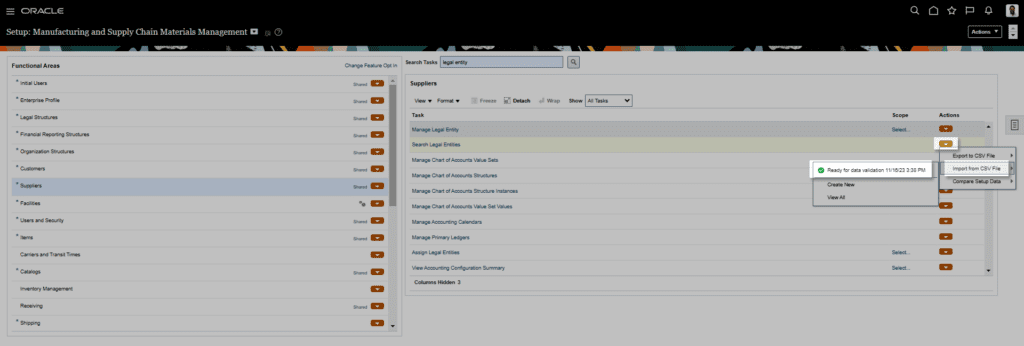
If desired, you can use the Actions button again download process result, logs, or the CSV File Package itself. These files can also be downloaded from FlexDeploy if enabled in the workflows.
We have shown building and deploying with a package, but FlexDeploy projects can be built and deployed in multiple ways. Learn more about Building and Deploying projects.
Conclusion
You have seen a quick setup and execution of Oracle SaaS FSM setup tasks. Although initial setup can take some time, it pays off when you realize the time saved versus manual deployments. Whether it be logging in/out of various Cloud environments, exporting/importing setup data, or keeping track of deployments. FlexDeploy manages all of it. Using FlexDeploy’s release and pipeline features, the movement of FSM CSV file packages (Setup Tasks) can easily be incorporated into a release and deployed to any number of environments automatically.
For more information on release and pipeline features in FlexDeploy: