In a previous post I demonstrated how to quickly get a FlexDeploy installation up and running with Oracle Kubernetes Engine. The approach, while quick, simply won’t scale in the long run. Anything from a new user not knowing the process or deploying the wrong image tag could hinder your deployments. Because of these issues we can benefit greatly by introducing FlexDeploy to automate and streamline the development and delivery process. Deploying to Kubernetes with FlexDeploy can afford us the following:
- Repeatable, automated process for building Docker images and deploying charts
- Reporting and audit capability
- Implement governance and controls using release orchestration
The Goal
Deploy a containerized application to OKE using FlexDeploy. A node based website called ‘Natours’ will used in this case.
Setting up FlexDeploy
In order to deploy our Natours application we are going to set up the following:
- A FlexDeploy Project where the Docker image name and Helm Chart is specified
- Workflows to get the source code from git and deploy to K8s
- A Pipeline to govern the Release Orchestration
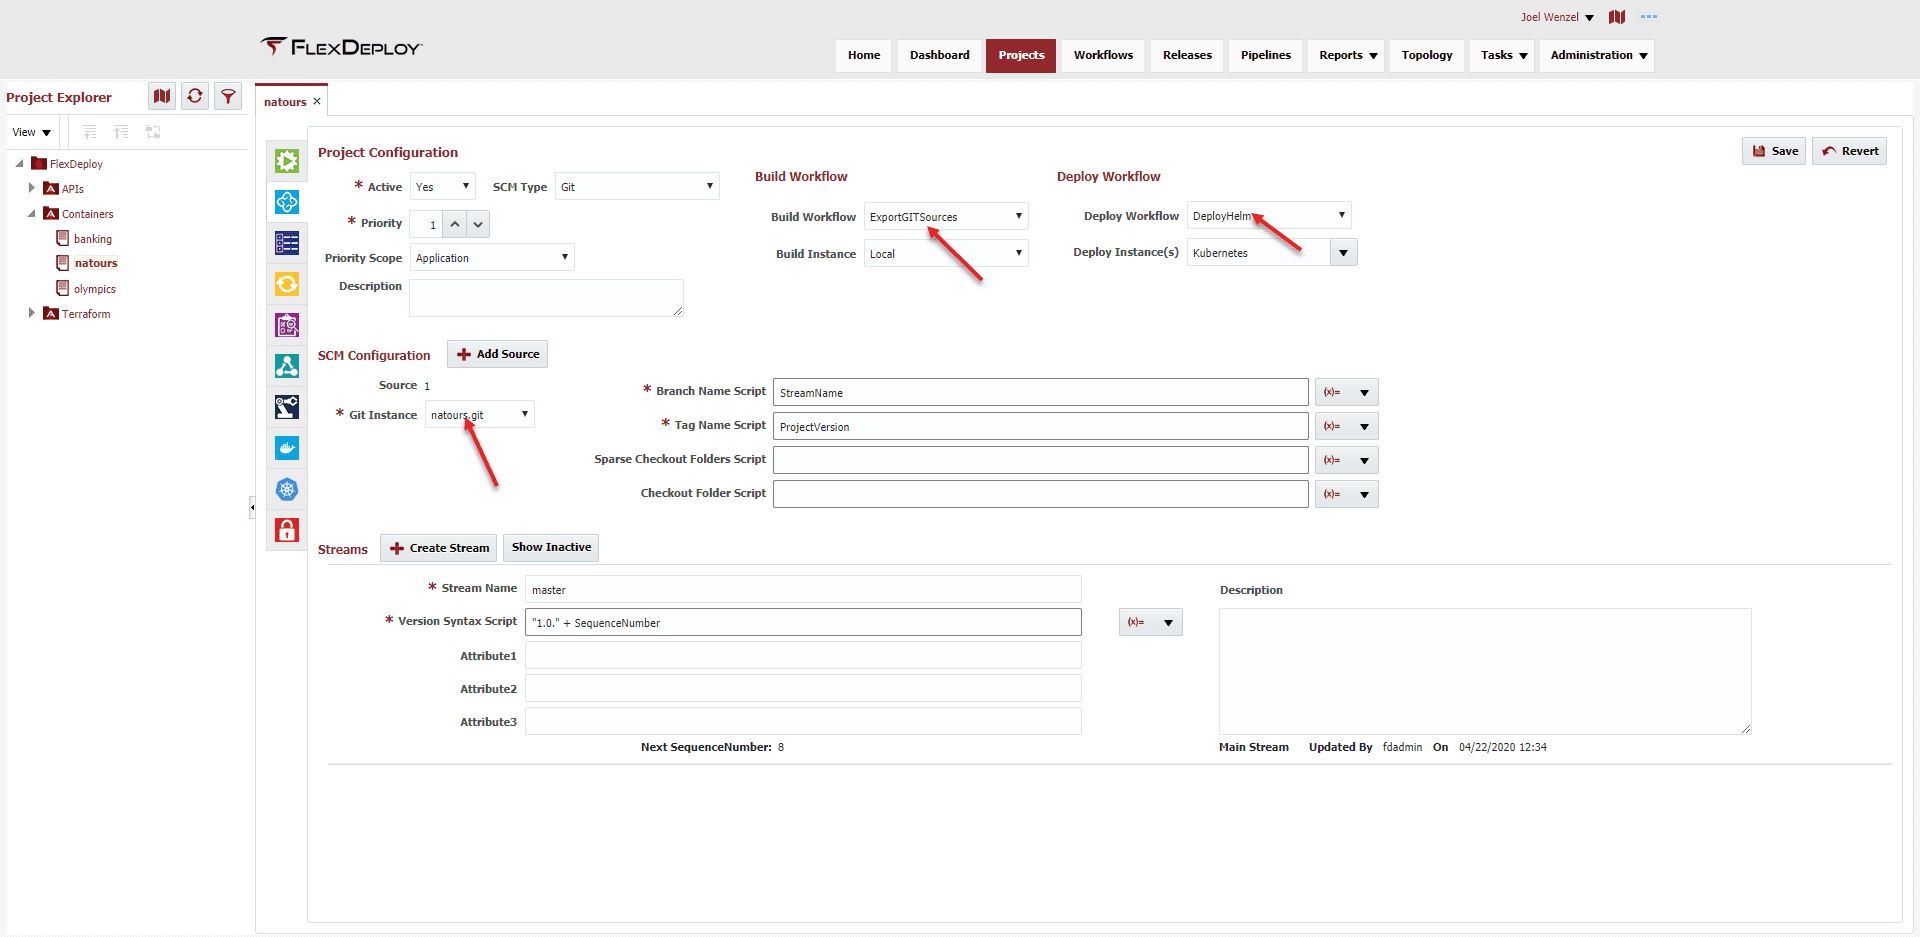
The FlexDeploy Project follows a pretty simple format. First of all it utilizes the build and deploy workflows mentioned above. Secondly, it is configured to grab the source code from GitHub.
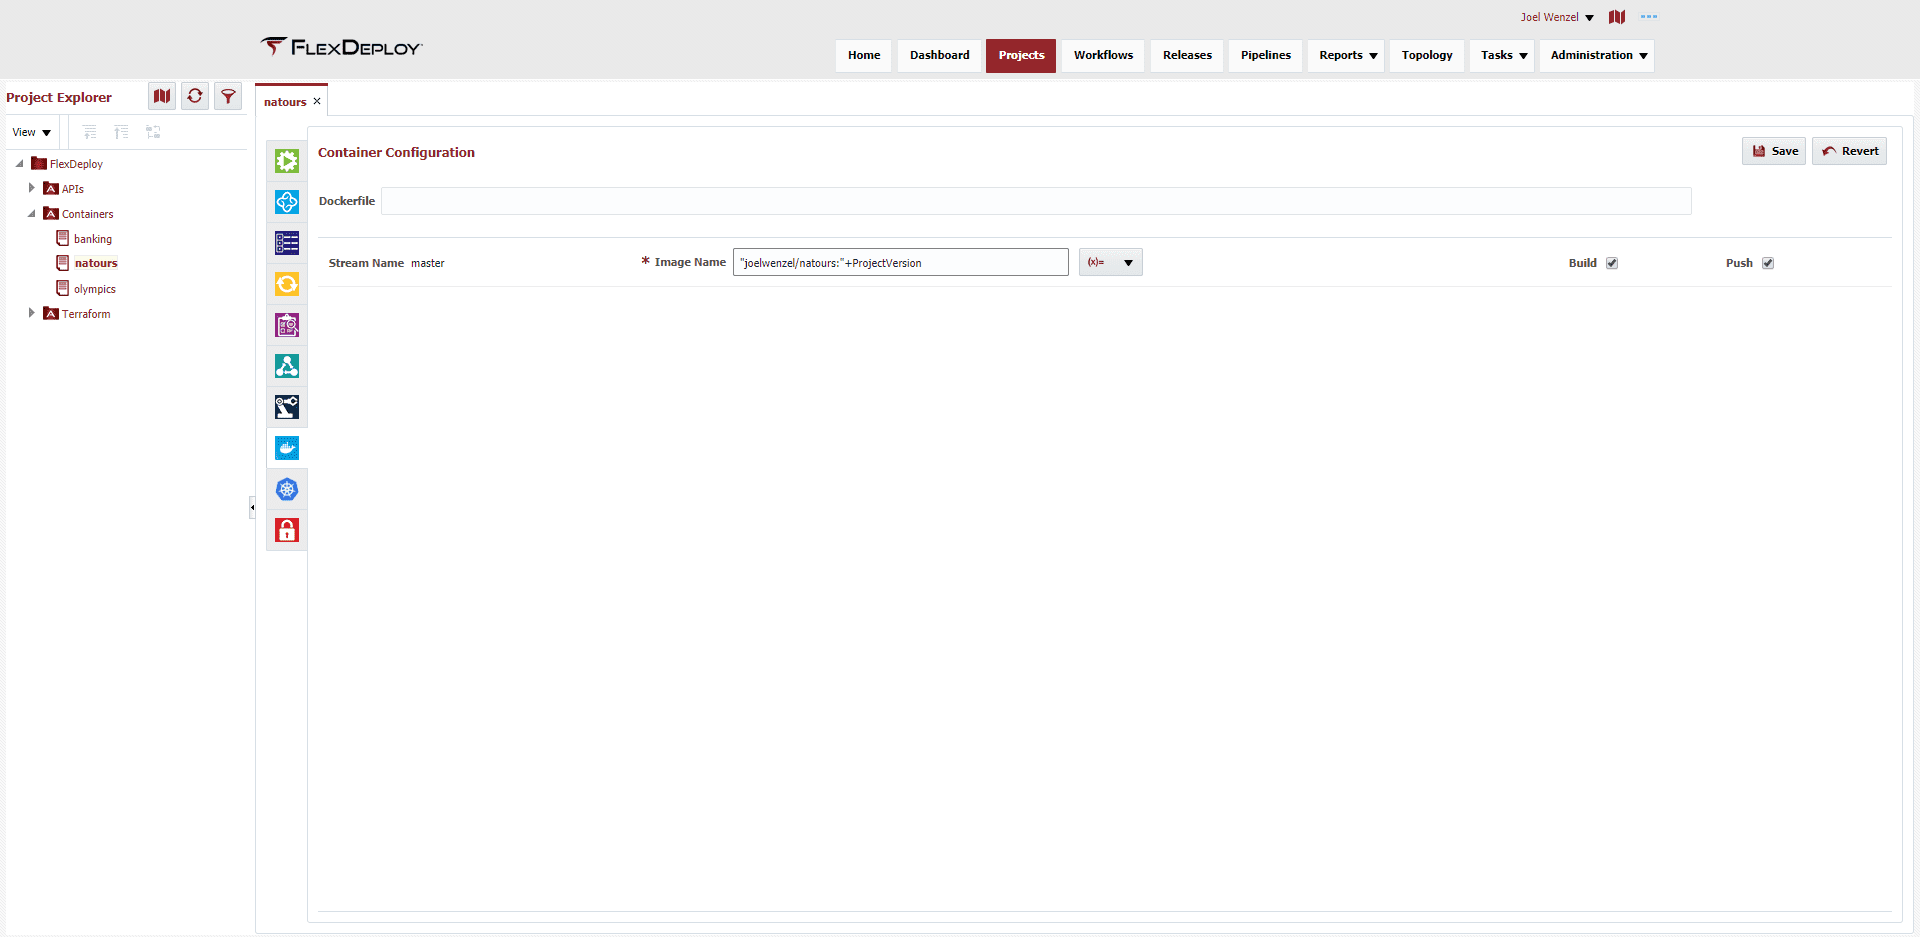
As well as specify the Docker image tag that should be built and pushed to our registry. In this case I’m using Oracle’s Cloud Infrastructure Registry.
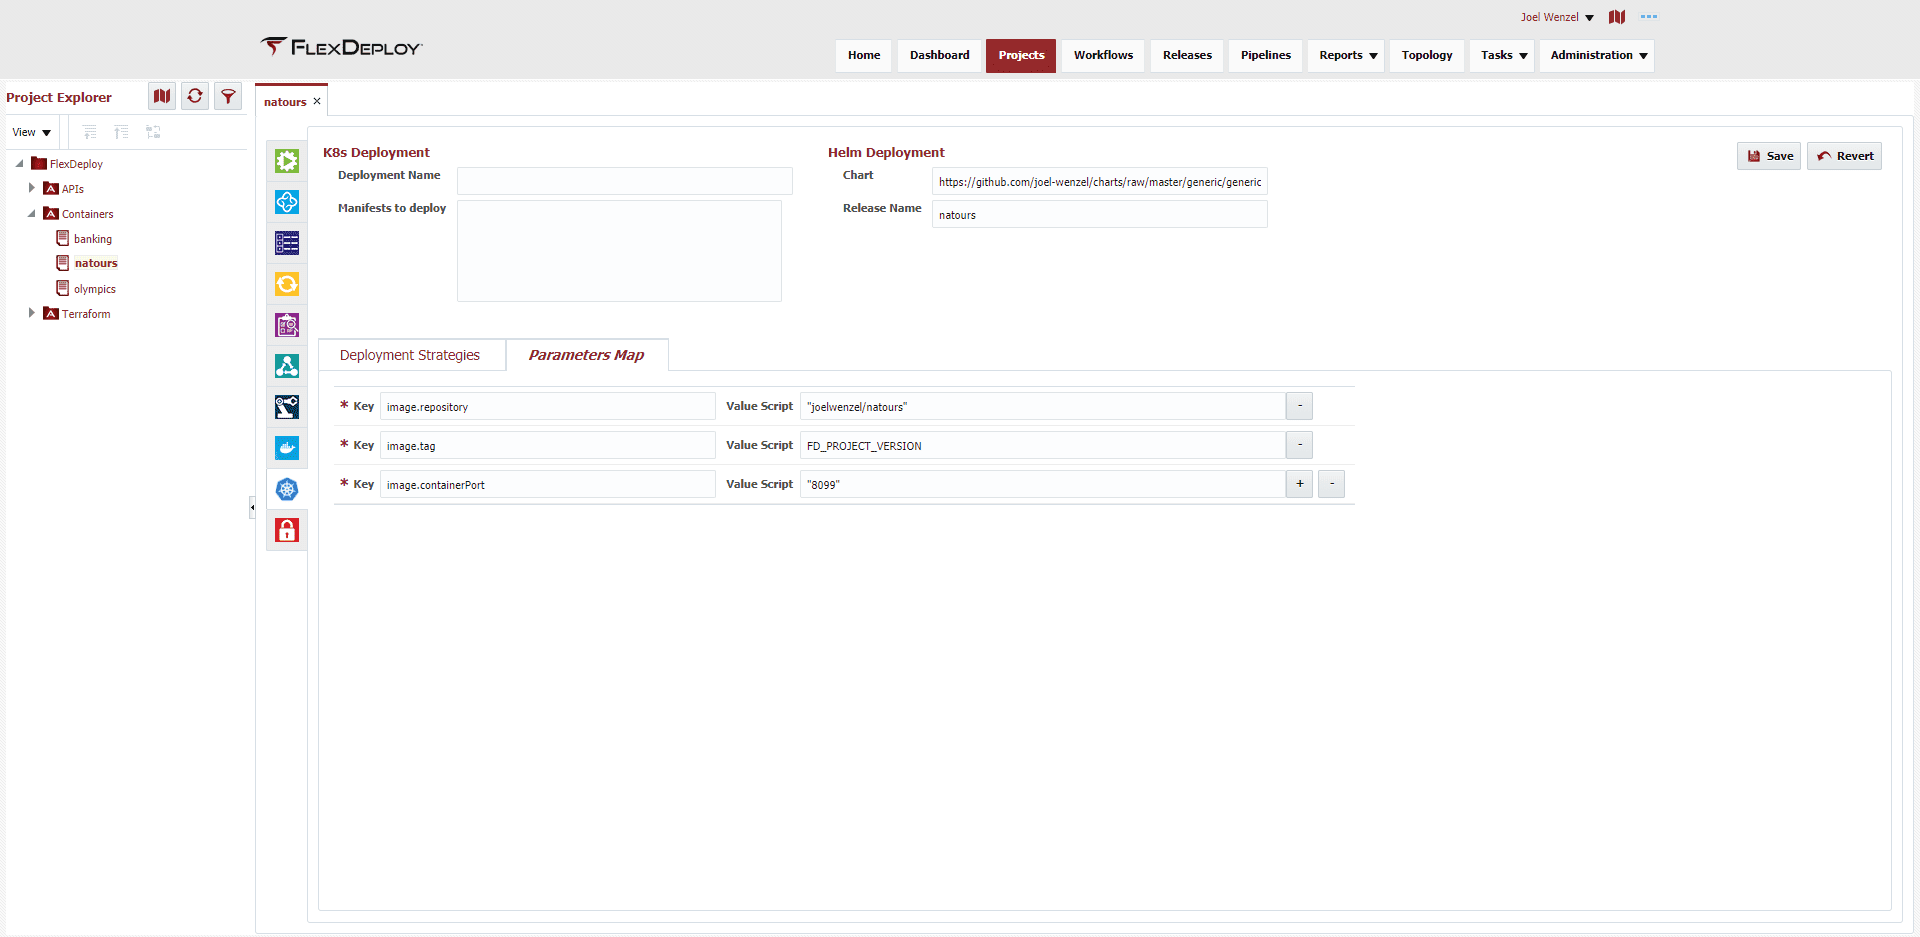
Lastly, the Helm Chart for deployment. If you are following along, you will want to change the image repository in both the Docker and Helm configuration to your own.
The full Helm Chart is https://github.com/joel-wenzel/charts/raw/master/generic/generic-0.1.0.tgz which can reused. It follows the standard chart from Helm Create with a few minor adjustments.
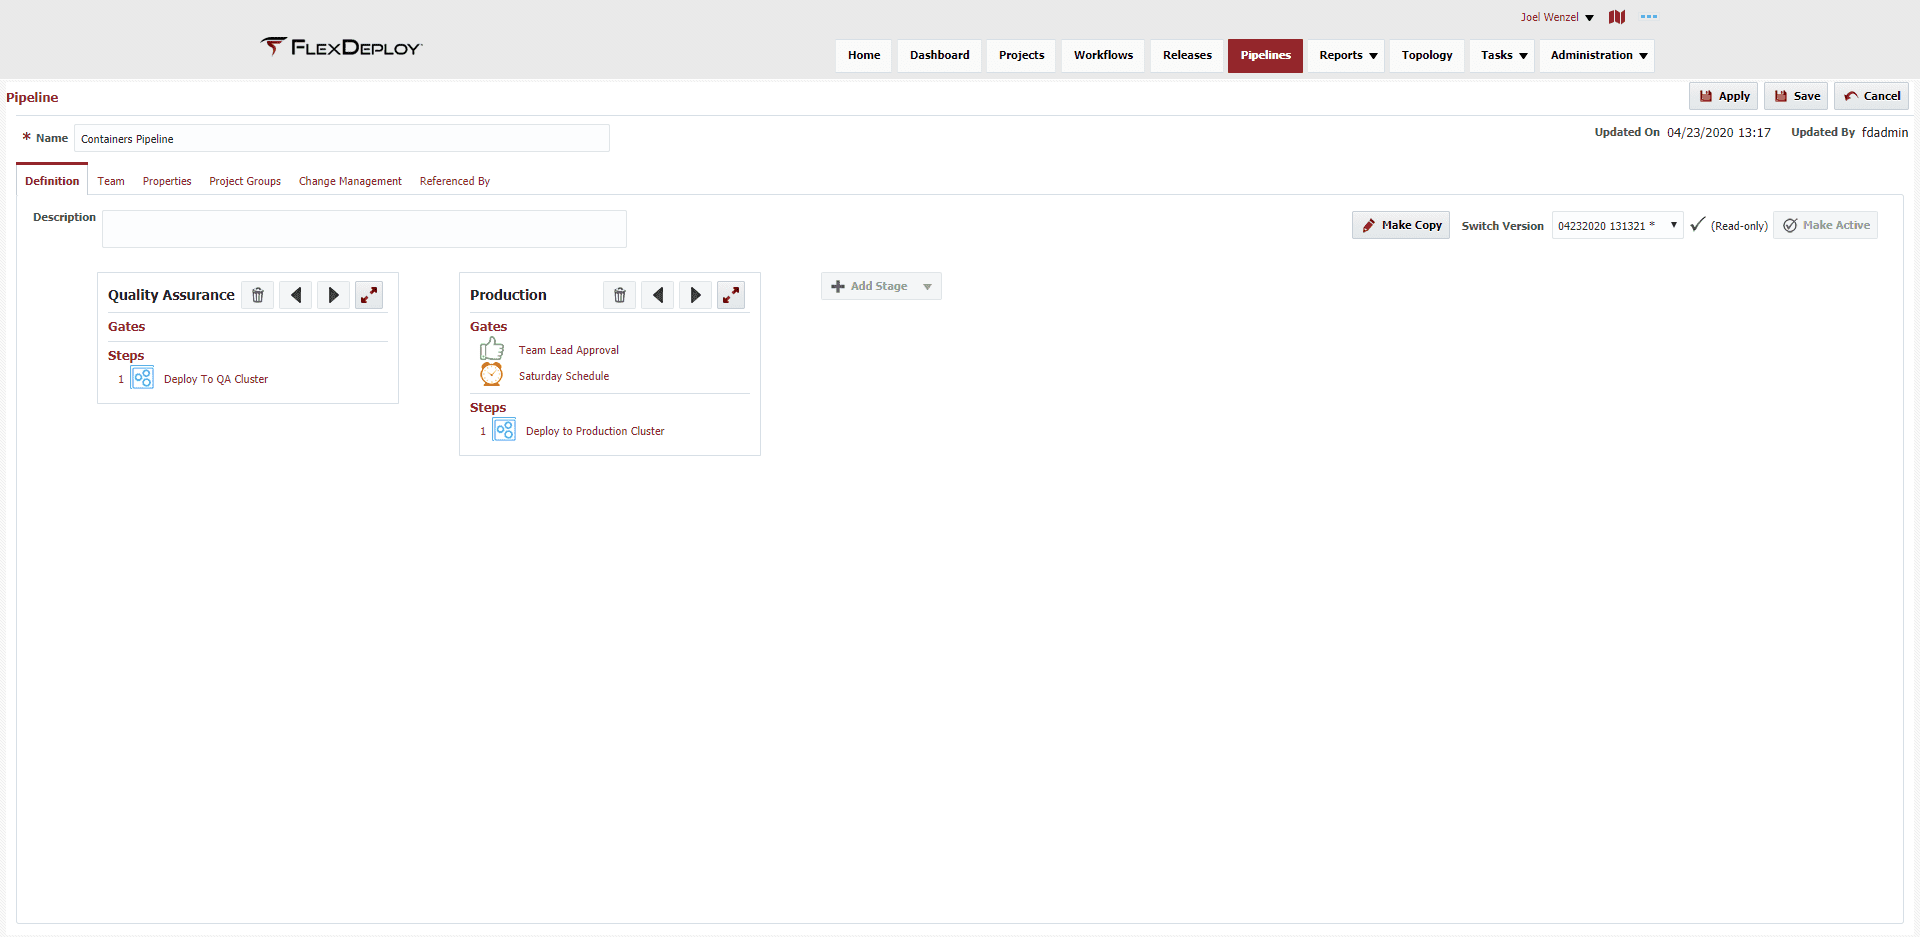
With those configurations in place we can actually now build and deploy our image to our OKE cluster. However, it would be nice if some governance existed around the deployments. As such, we can use a Pipeline to incorporate some Release Orchestration.
With this Pipeline in place, any new image builds will deploy directly to the QA environment. However there are some controls before deploying to Production to prevent those gunslingers from ruining everyone’s good time. Of course we could also have integrated test and quality automation into the pipeline, such as functional testing and container security scanning.
Deploying with FlexDeploy
Now that all the setup is complete its time to see this in action. Additionally I have my project setup to build based on a webhook. As a result all I need to do is push a change to my repository to get things started.
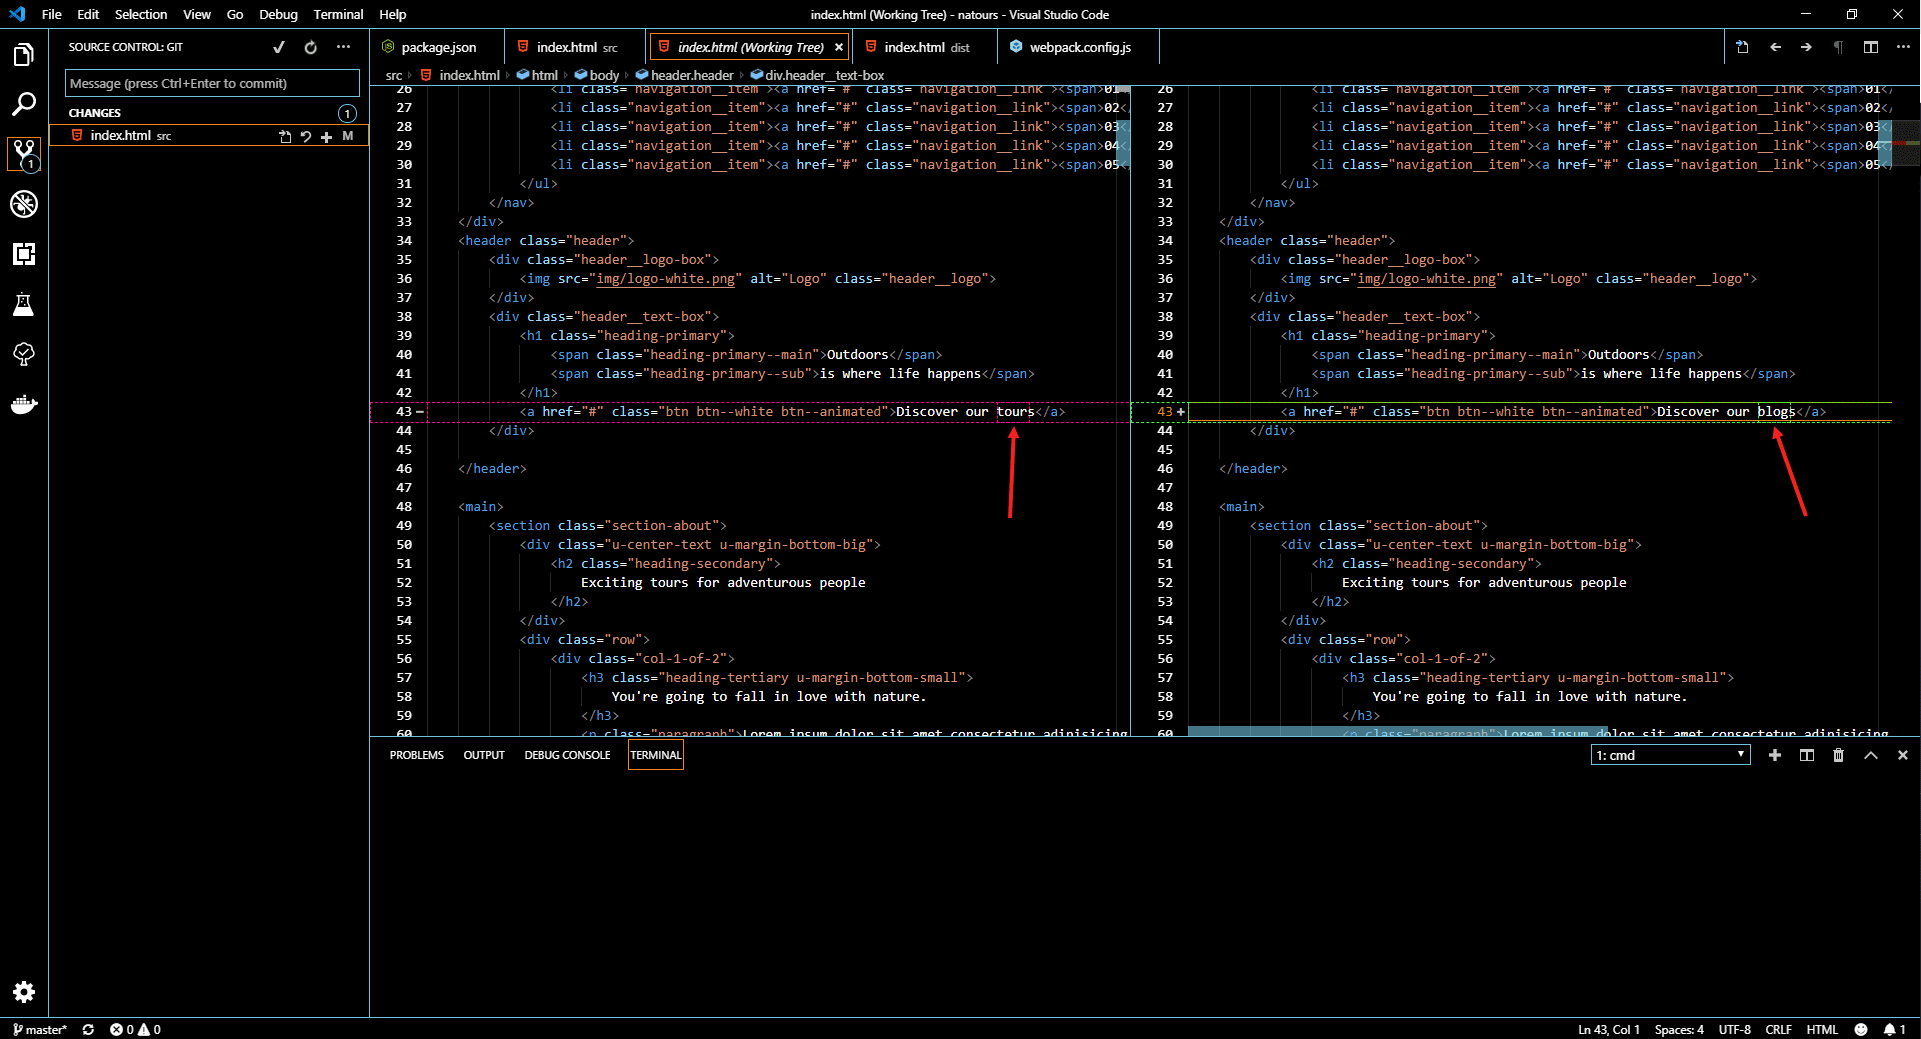
I am going to commit a small typo in our website:
After pushing the commit a new build is visible in the FlexDeploy UI. Notice the new Project Version of 1.0.8. This Project Version will be the tag we both push the image with and the version the Helm Chart uses.
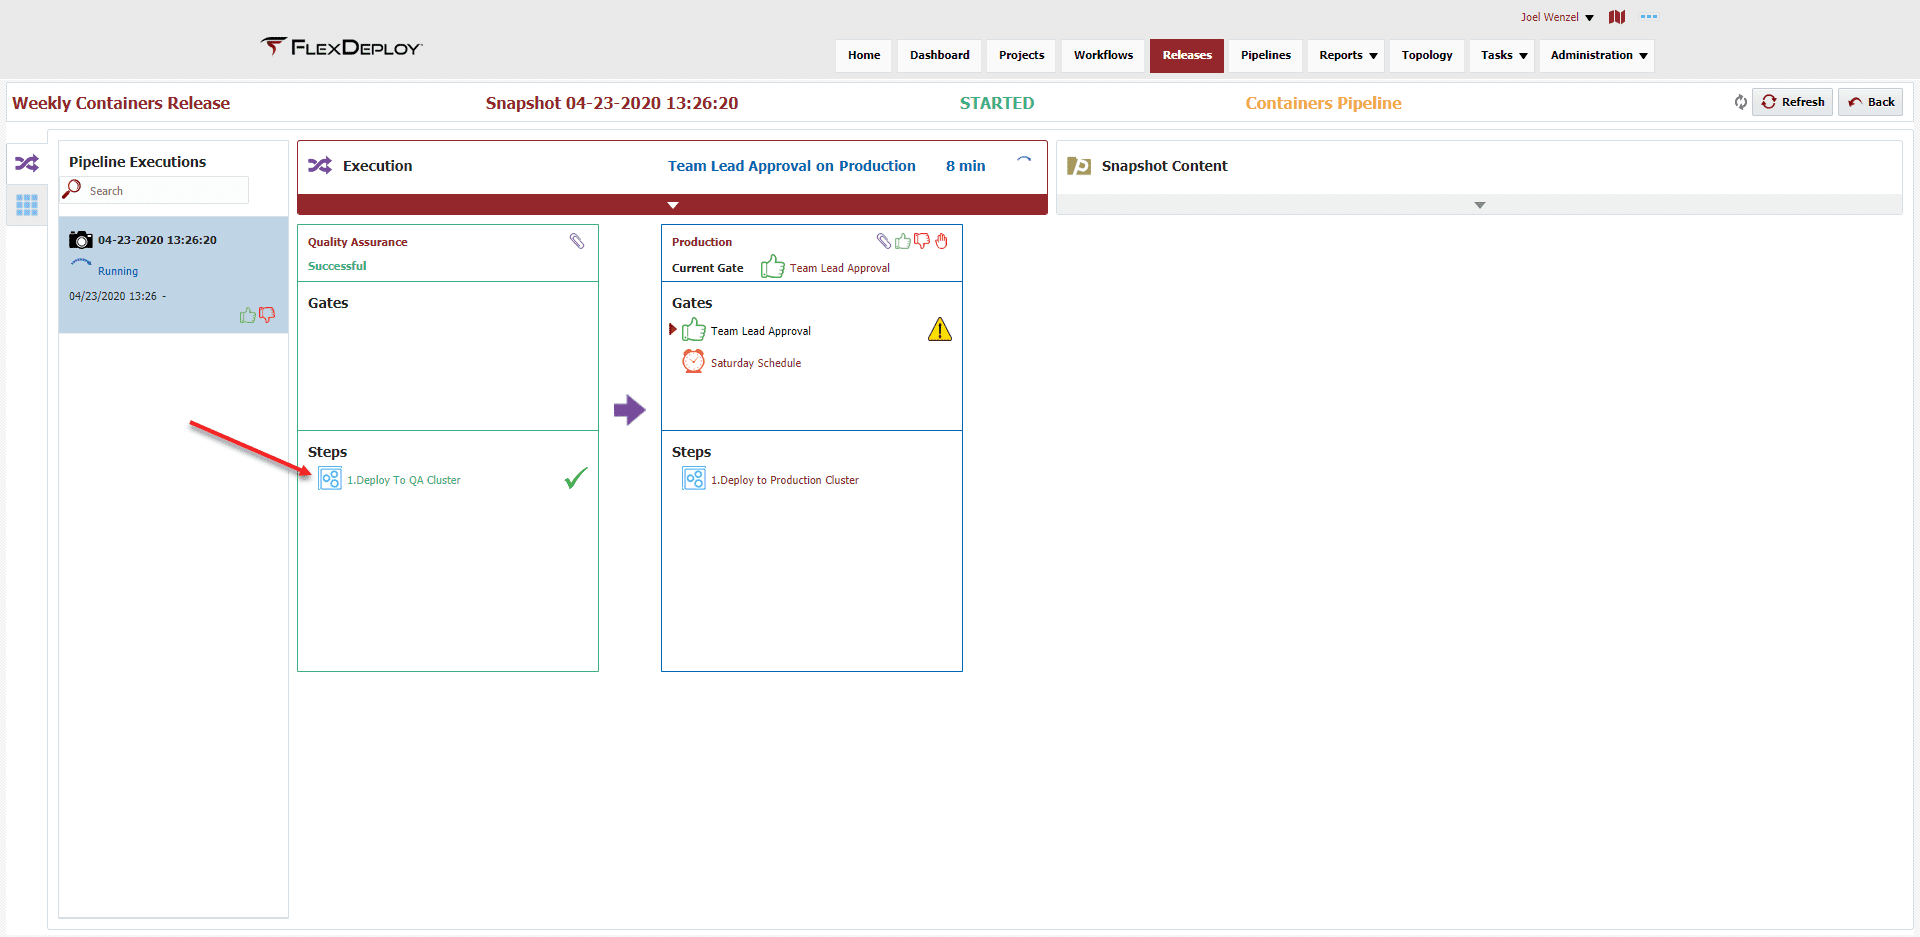
Furthermore, after the build completes our new image is deployed via our Pipeline.
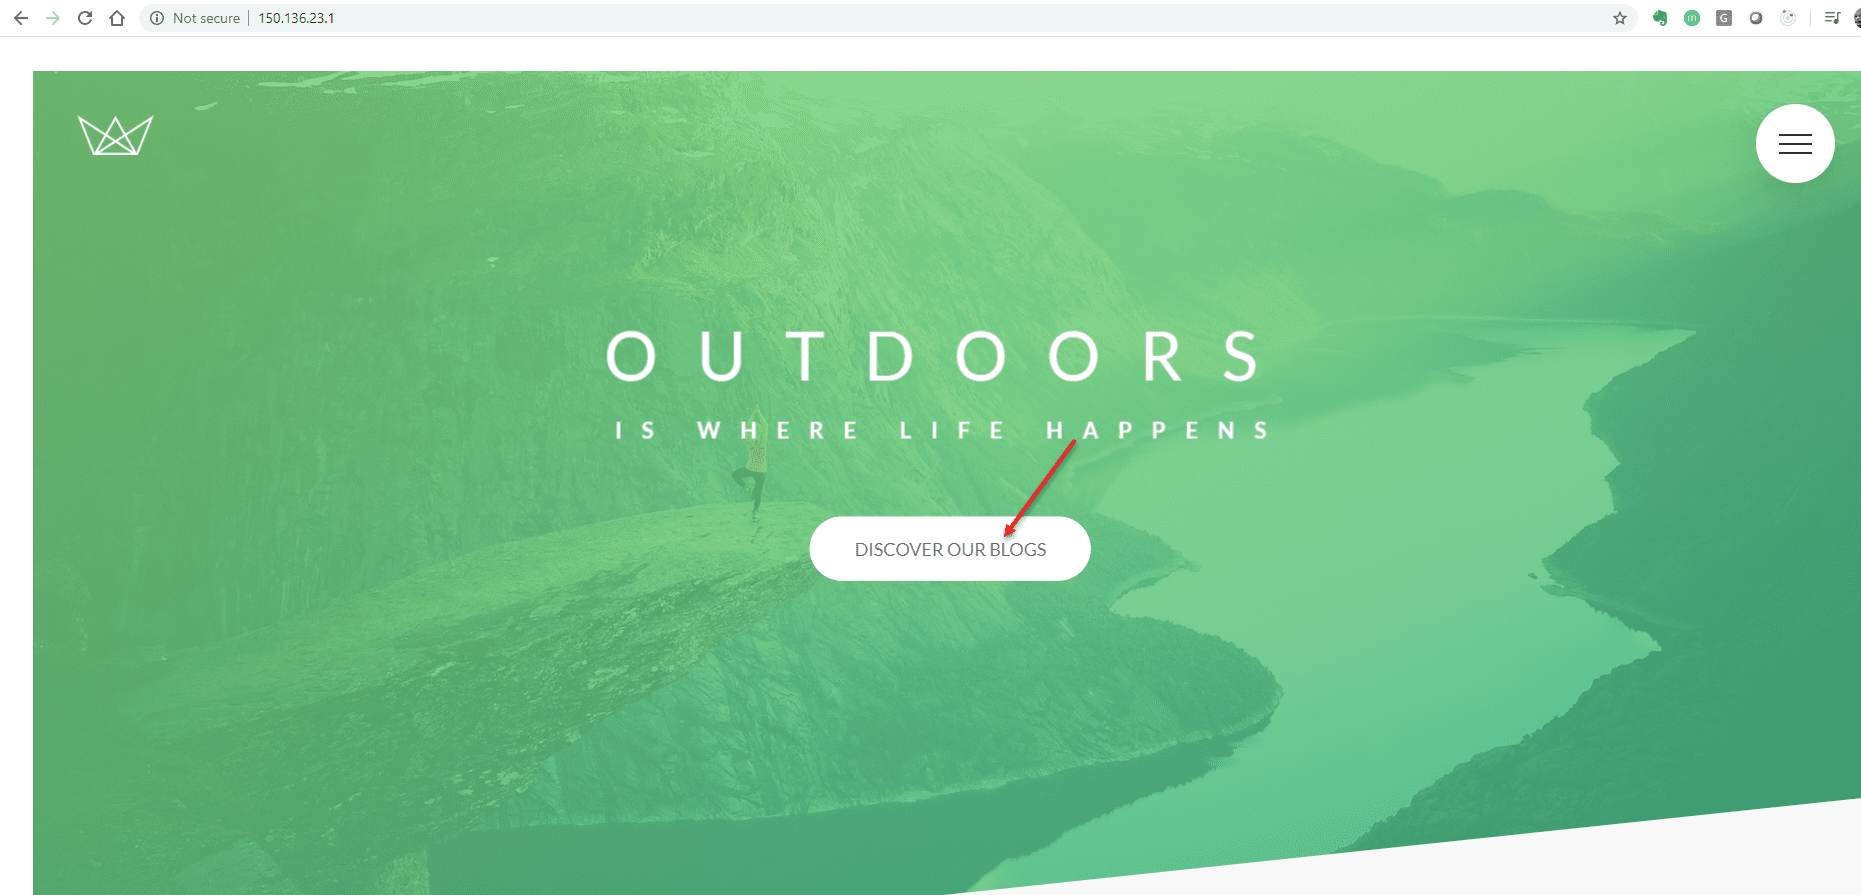
Fantastic! Lets take a look at our change in OKE.
Splendid. Reverting our “typo” would be easy as reversing the commit in GitHub. We could also simply deploy a previous Snapshot through our FlexDeploy Pipeline. The Natours Project in FlexDeploy can now be used as a template to create additional Projects! We only need to change the image name.
And with that, we have a repeatable, automated process for building and deploying images to OKE. For more complex deployments checkout Deployment Strategies.

