FlexDeploy provides automation of your XML Publisher reports along with all other EBS artifacts. You can extract these along with any other desired artifacts (Build) from your Development EBS instance and migrate them to other EBS instances, including Production (Deploy). FlexDeploy supports both on-premise and cloud instances to build and deploy any of your EBS artifacts.
For more information on the entire FlexDeploy solution for EBS, please see our Interactive Demo or Watch this on-demand webinar.
For Publisher reports, you may need to work with multiple artifacts in EBS. Most of your publisher reports may consists of the following different artifact types.
- Concurrent Programs including value sets and lookups.
- Data definitions
- Data Templates
- Template file (RTF, PDF etc)
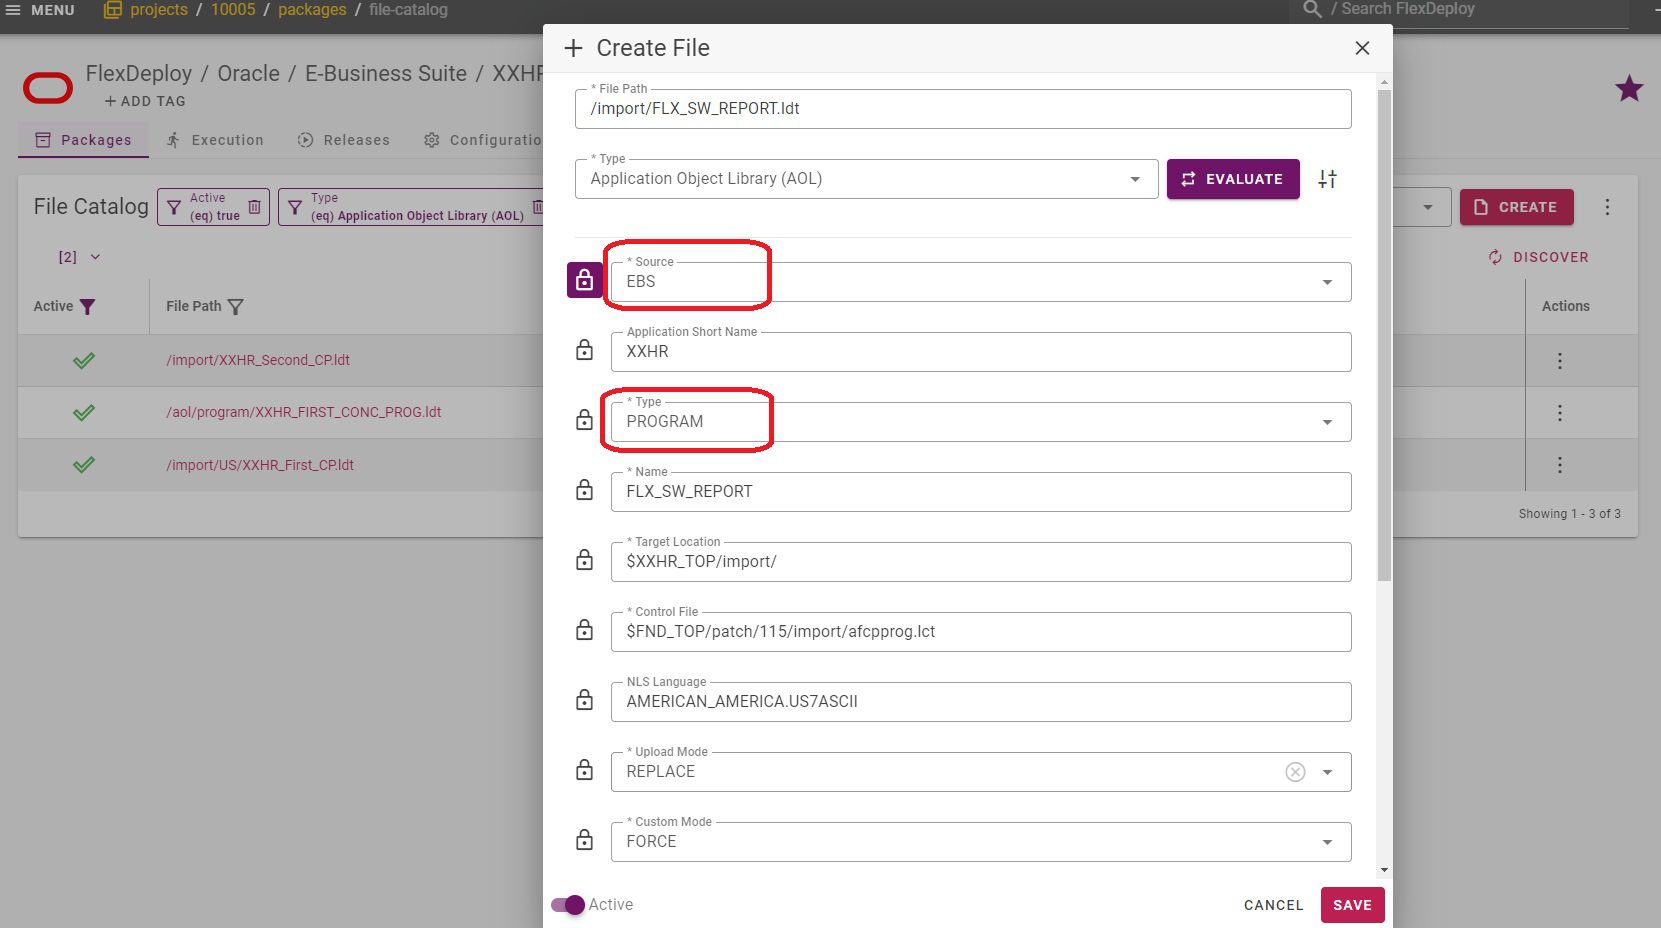
With FlexDeploy you can automate these and extract them at same time and deploy all together. For Concurrent Program, add the Application Object Library object type under your Project File Catalog. Make sure to select Source as EBS and Type as Program.
For Data Definition, add another Application Object Library object type under your Project File Catalog, this time select XDO_DS_DEFINITIONS for Type attribute.
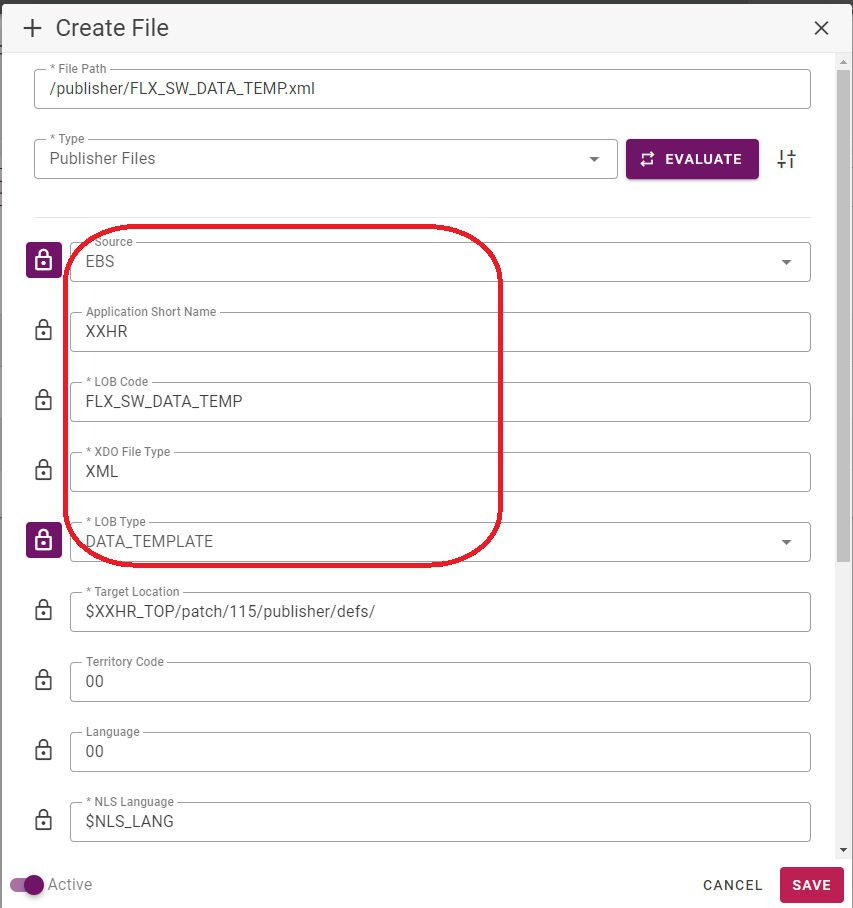
Add the Data Template under Publisher type in Project File Catalog. Select LOB Type as DATA_TEMPLATE, and Source as EBS to extract the XML data template from EBS instance.
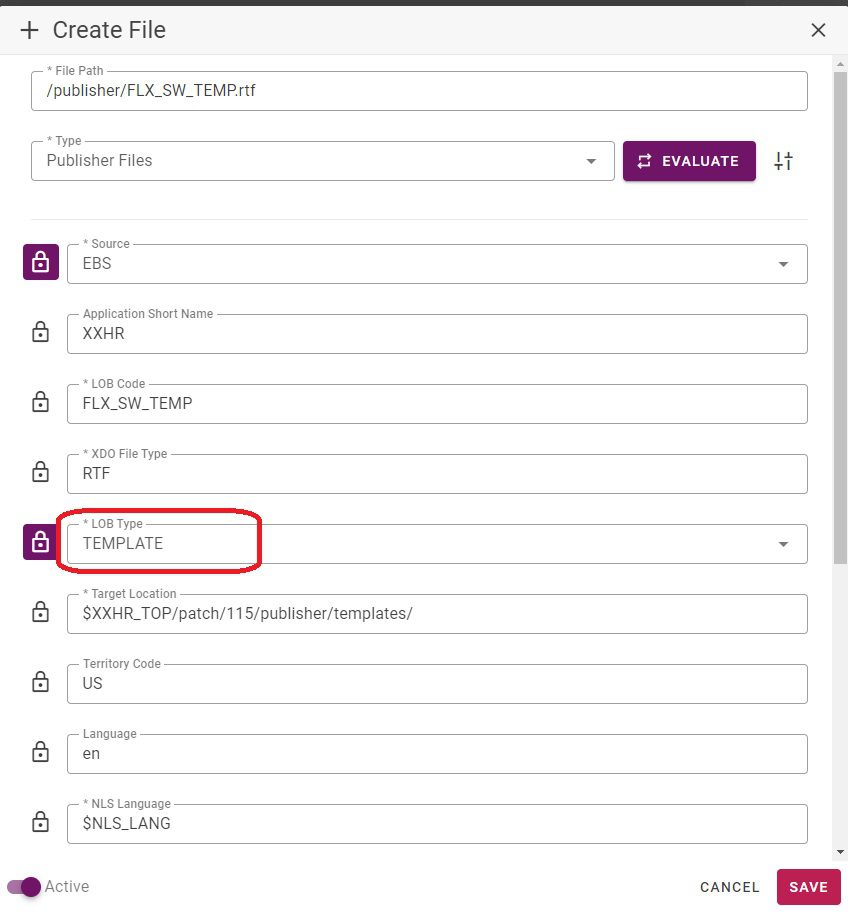
Now add the Template file under Publisher Files in the Project File Catalog. This time select LOB Type as TEMPLATE and Source as EBS to extract the template (RTF or PDF) from the EBS instance.
Once you have completed adding these files under the Project File Catalog screen, you can create a package and add these files to extract all the files at once. The extract process is called Build in FlexDeploy. To start the Build process, click on the Build button.
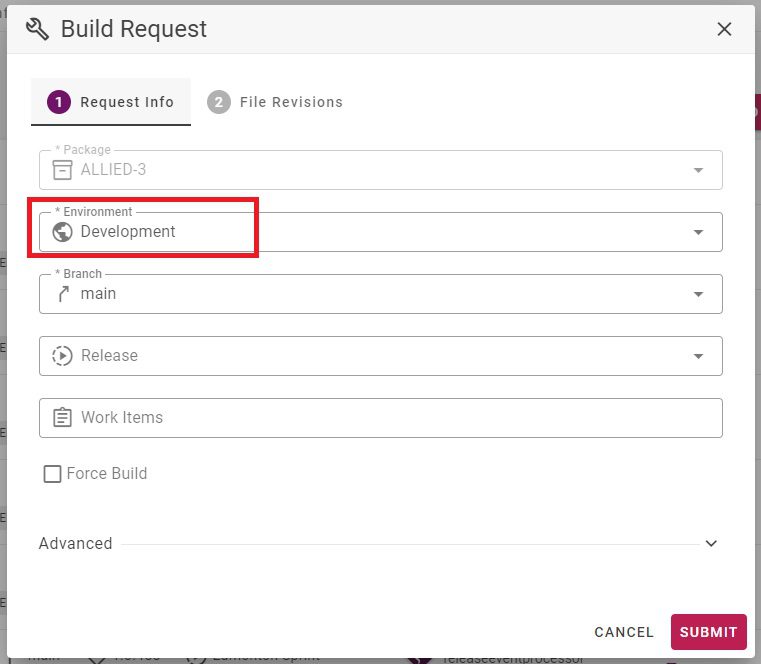
Once you click on the Build button, it will bring up the Build Request Form with the selected files. In this form, you can select the Environment from where you want to extract these files and click Submit Request.
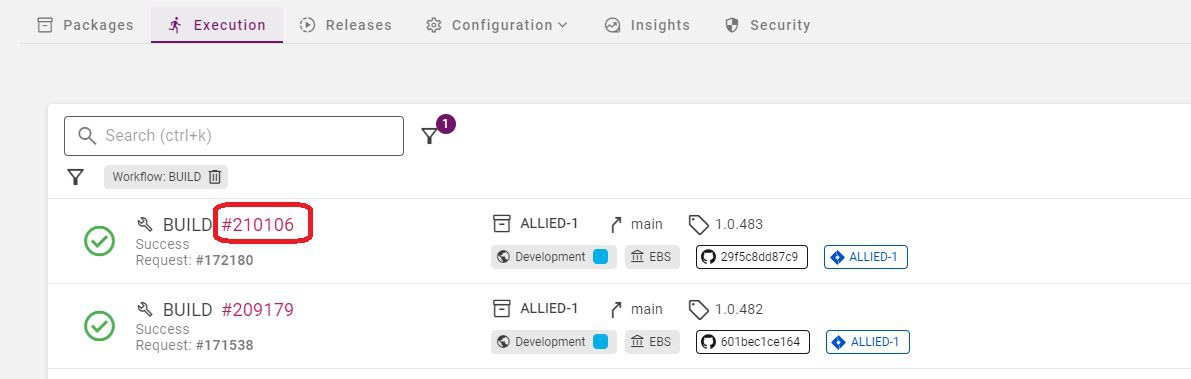
This build step creates the package version with selected files by extracting the files from your Development instance of EBS. Once the Build is complete, the Project Execution screen shows the status of your Build step as shown below. You can click on the Execution Id to view more details or to view the files it extracted.
Adding these files under the Project File Catalog screen in FlexDeploy is a one time setup. If you change these files at any time, it is simply a few clicks to Build and Deploy. Simply click on the build icon to re-build with the same set of files. You can deploy to one or more EBS instances by simply clicking on the Deploy button. Clicking the Deploy button displays the Deploy Request Form.
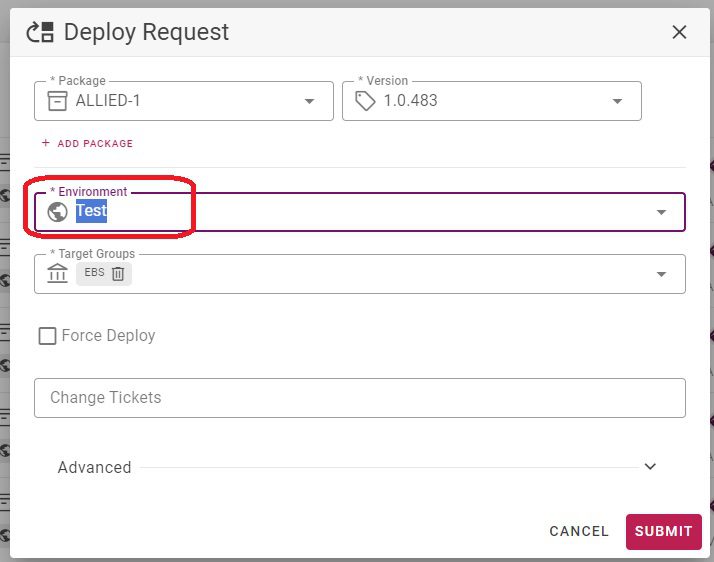
Simply select the Environment you want to deploy to and click Submit Request. The Project Execution screen shows the status of the Deploy step.
FlexDeploy supports automating all other EBS artifacts with these simple steps. There is no need to write any complex commands or scripts to migrate any of your EBS objects. With FlexDeploy, you can finally enjoy migrating EBS artifacts.