

We’re excited to introduce a game-changing feature in FlexDeploy: the Configuration Export/Import feature! This powerful addition allows you to effortlessly transfer workflows and projects between different FlexDeploy servers, making transitions between your development and production environments (or vice versa) smoother than ever.
Say Goodbye to Manual Transfers!
No more tedious manual copying of projects and workflows. With the new export/import functionality, you can ensure that your configurations are consistent and accurate across all your servers.
Let’s Dive Into an Example
Before we begin, please note that you’ll need administrator access to perform exports or imports.
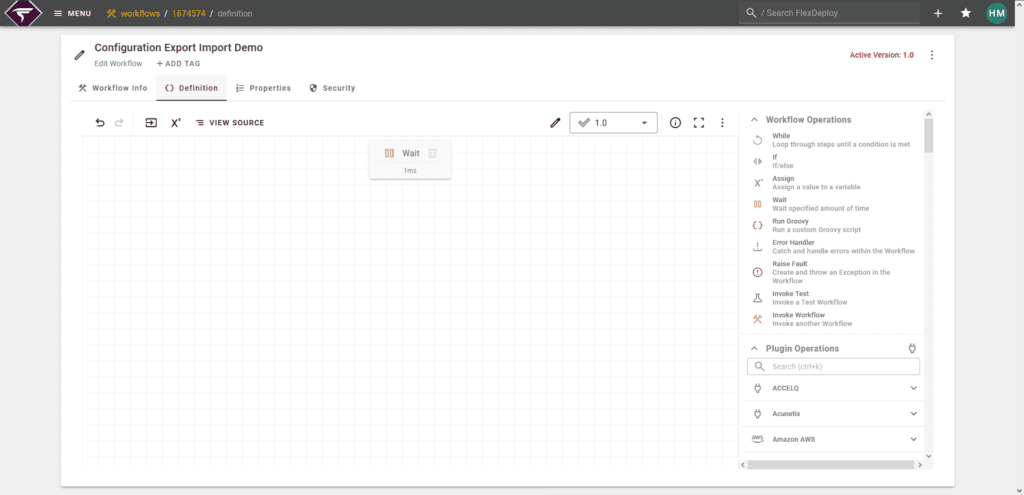
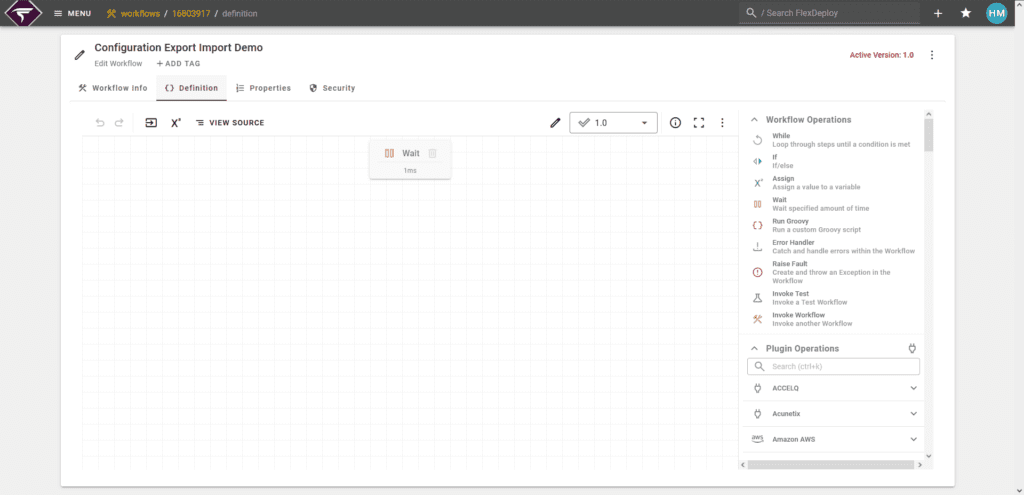
Step 1: Create Your Workflow
Start by creating a simple workflow. For this demonstration, we’ll design a basic workflow that simply waits.
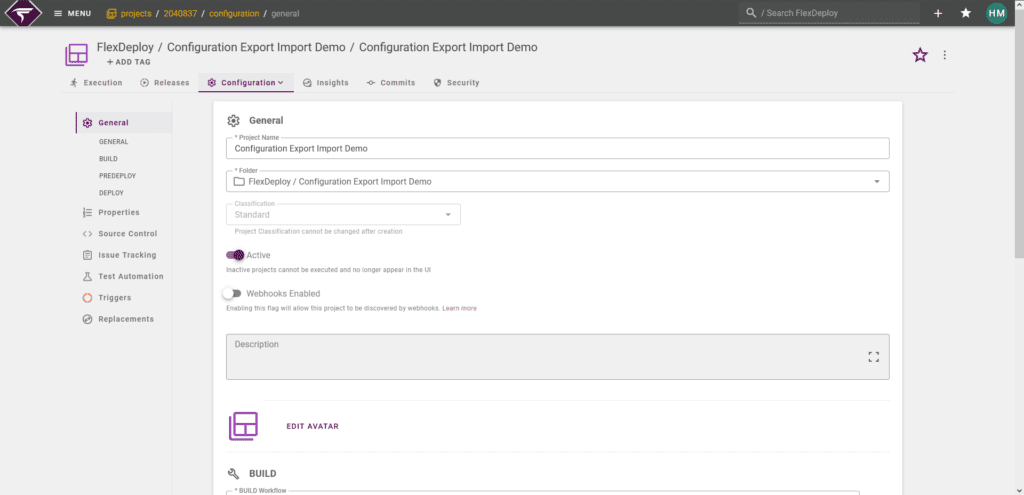
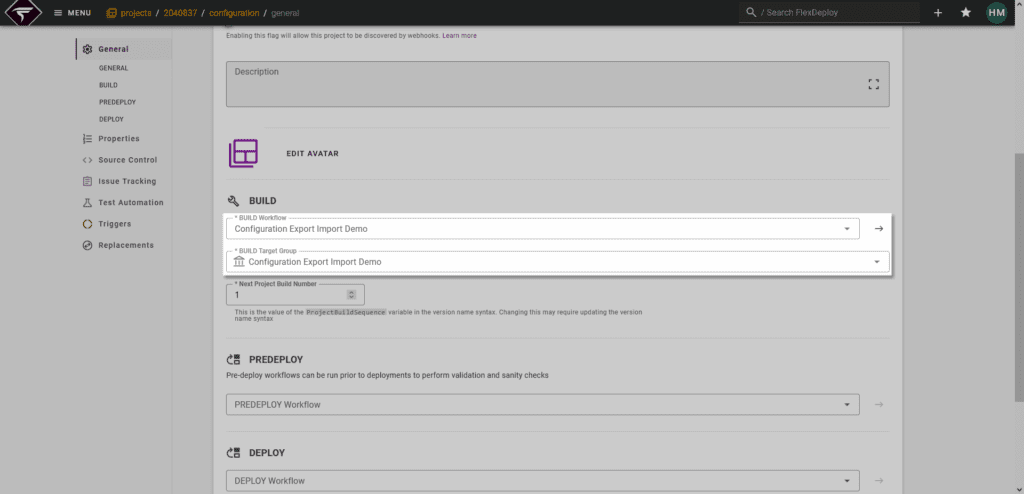
Step 2: Create a Project
Next, set up a project that uses the workflow you just created as its build workflow.
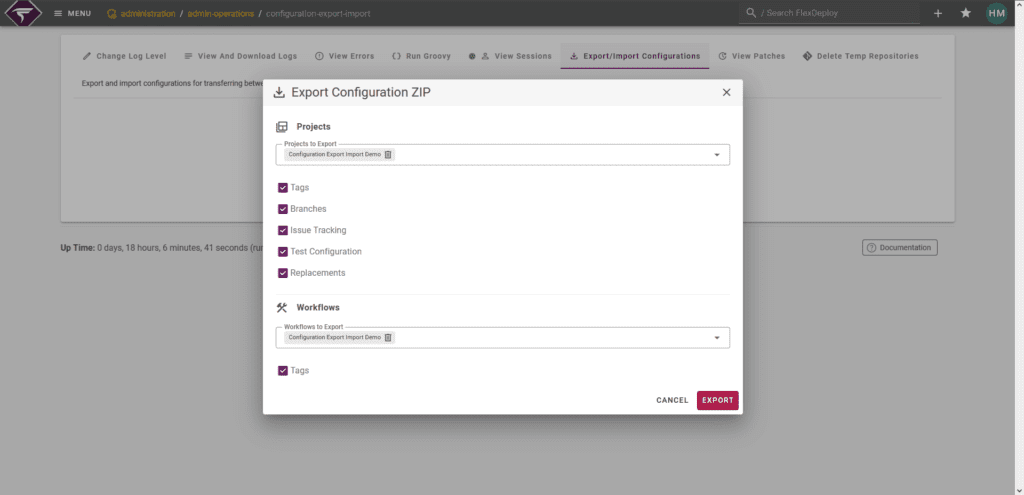
Step 3: Export Your Project and Workflow
Now it’s time to export the project!
- Navigate to Admin Operations and select Export/Import Configurations.
- Click Export.
- Choose the project you created. Notice how the associated workflow is automatically selected.
- Click Export.
Once the export process is complete, a zip file containing your project and workflow will be automatically downloaded.
Let’s take a second to look at all of the options we were greeted with on the screen.
- Tags
- Branches
- Issue Tracking
- Test Configuration
- Replacements
All of these things can optionally be exported. Issue tracking will even export the issue tracking configuration for folders the project is in!
See the documentation once released for full details of everything that can be exported.
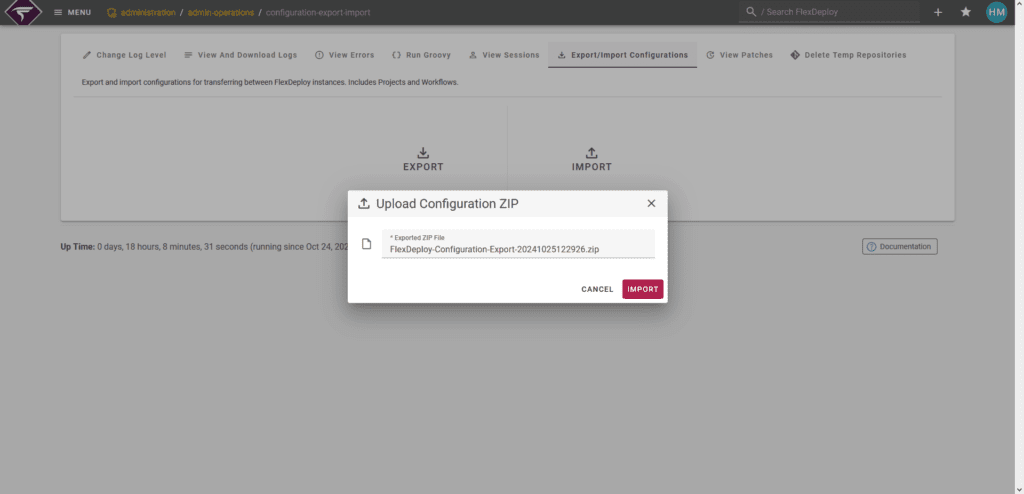
Step 4: Import to the Target Server
Now, let’s head to your target FlexDeploy instance.
- Go to the Admin Operations screen and select Export/Import Configurations.
- Click Import and choose the zip file you just downloaded.
- Click Import.
Once the process is finished, you’ll see a success message confirming that your project and workflow have been successfully imported.
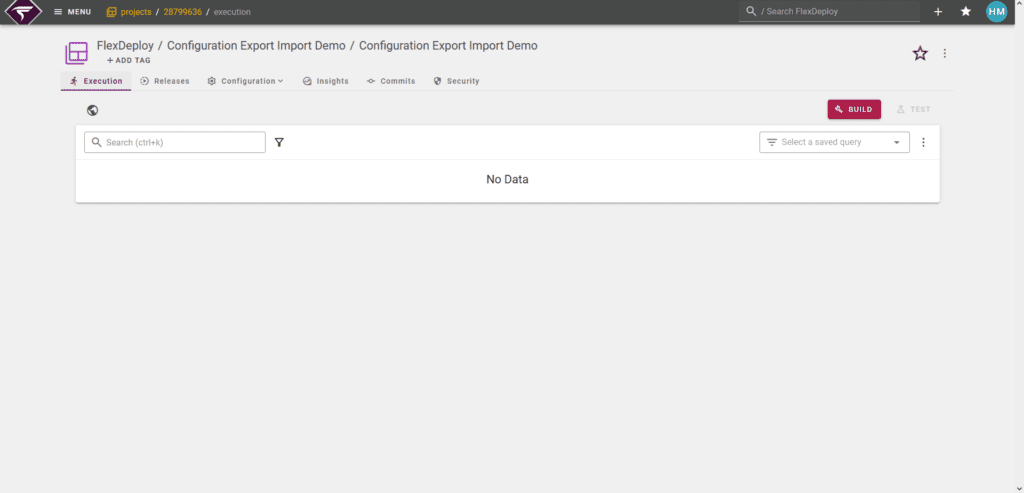
Step 5: Verify Your Project and Workflow
Now, go ahead and locate your newly imported project and workflow!
Conclusion
As you can see, FlexDeploy’s new Configuration Export/Import feature makes moving projects and workflows between servers a breeze. This innovation not only saves you time but also minimizes the risk of errors during the transfer process.
Upgrade once released to take advantage of this feature and enhance your efficiency!