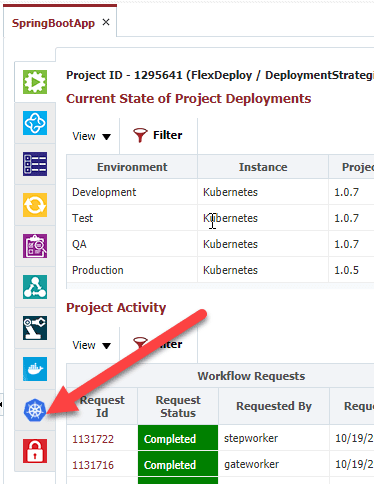
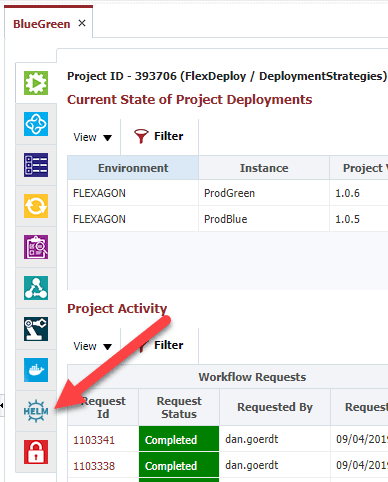
With the release of FlexDeploy 5.2, we now have the ability to automate K8s Deployment Strategies as well as more native support for K8s. Because of this, we unfortunately have to say goodbye to the Helm Tab to make room for K8!
FlexDeploy 5.2
FlexDeploy 5.1
This blog will require you to have a working knowledge of K8s and Deployment Strategies. Therefore, if you need a brush up you can check out this post or just Google around. (It’s your life!)
The Goal
Our objective is to deploy a new version of our ‘SpringBoot’ app into production. Furthermore, we want to do this in a way that doesn’t significantly hinder the user experience. In order to accomplish this, we are going to have the following:
- FlexDeploy Project – Utilizing the new K8s configuration.
- FlexDeploy Pipeline – New Pipeline step ‘Apply Deployment Strategy‘.
The Project
The role of the Project is to export the manifest files from source and deploy the application to K8s. Along the way, any manifest files we specify for Deployment Strategies will also be applied. Below are some of the resources if you wish to create this yourself.
- Source Code
- Build Workflow
- Deploy Workflow – The Deploy Workflow needs an Environment Instance property created called ‘K8S_CONTEXT’.
K8s Configuration
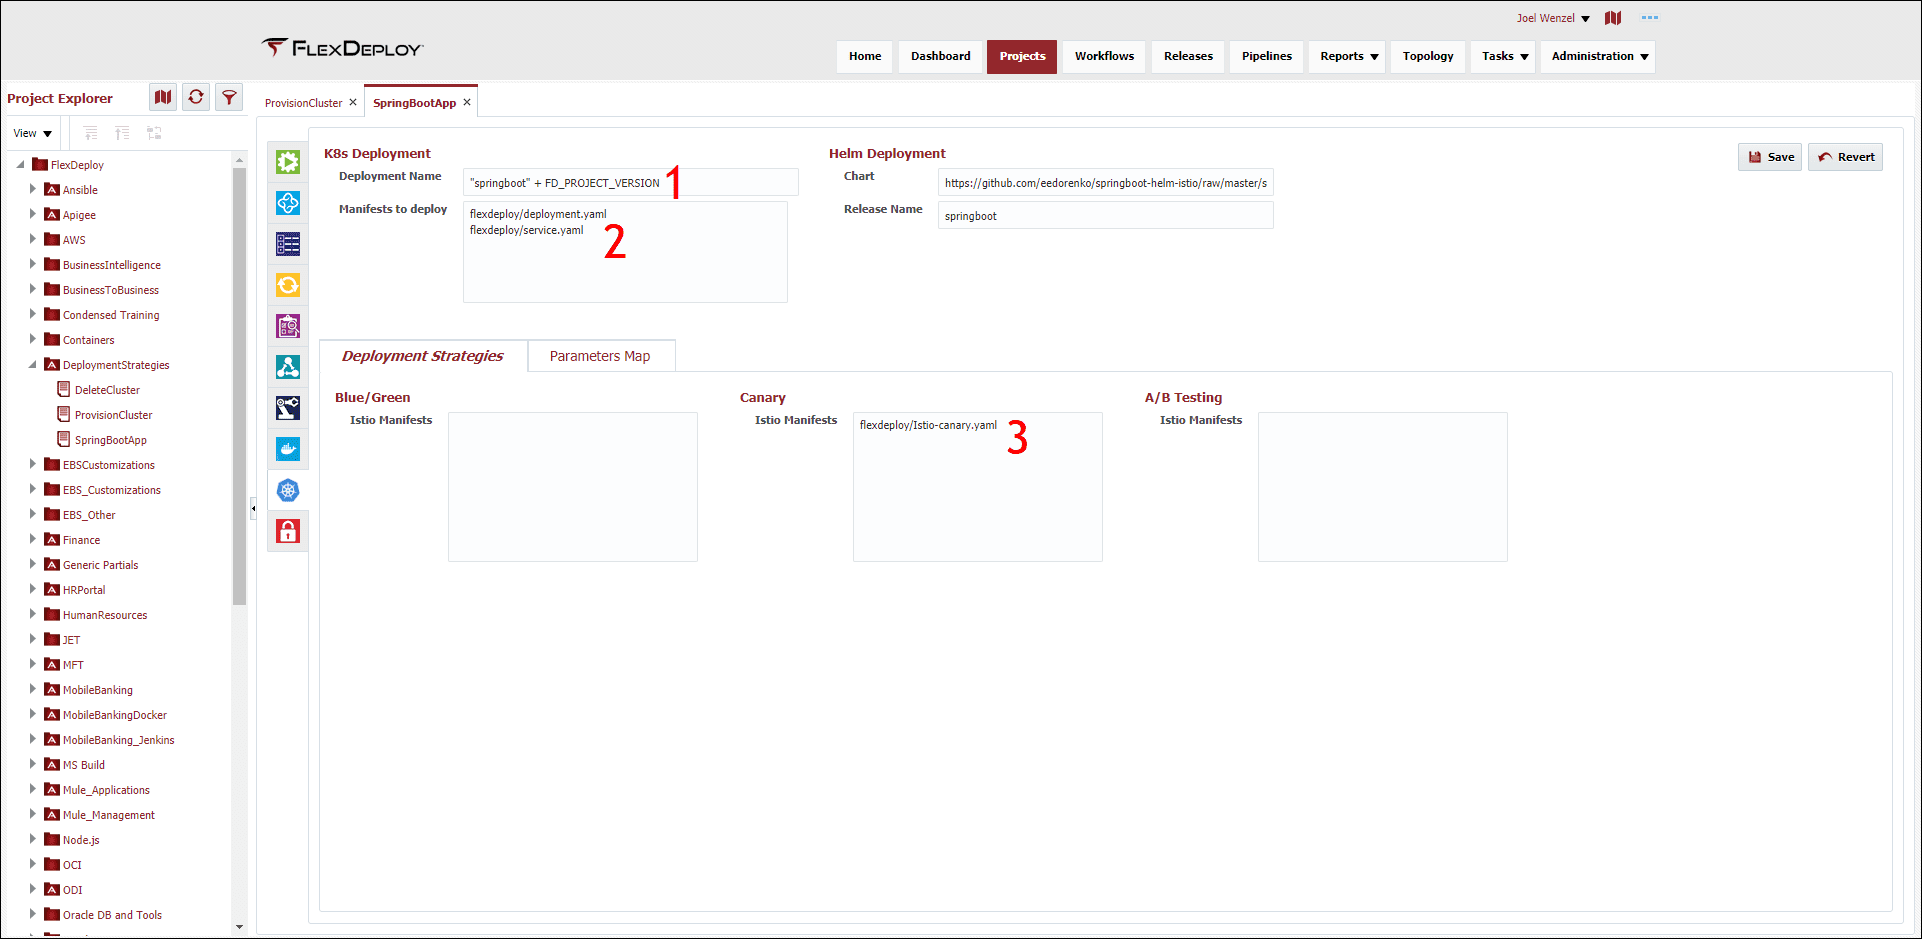
Making use of the new K8s tab, we are specifying the Deployment Name (1) as a Groovy script using the Project Version. In addition, the Manifest Files for deployment (2) and Canary Deployment Strategy (3) are also specified.
Upon opening the Istio-canary.yaml file, we can see one thing out of the ordinary. Notably, the ‘weight’ fields are using FlexDeploy Property Replacement.
route:
    - destination:
        port:
          number: 8080
        host: superapp
        subset: green
      weight: ${{FD_KN_OLD_WEIGHT}}
    - destination:
        port:
          number: 8080
        host: superapp
        subset: blue
      weight: ${{FD_KN_NEW_WEIGHT}}
Keep this in mind as it will come into play later on.
The Pipeline
Now that the project is all setup, it’s time to showcase how exactly we are going to update our weights as we feel more confident with our new application version. To set the stage, this SpringBoot project is part of a Release using a Pipeline configured for Canary Deployments.
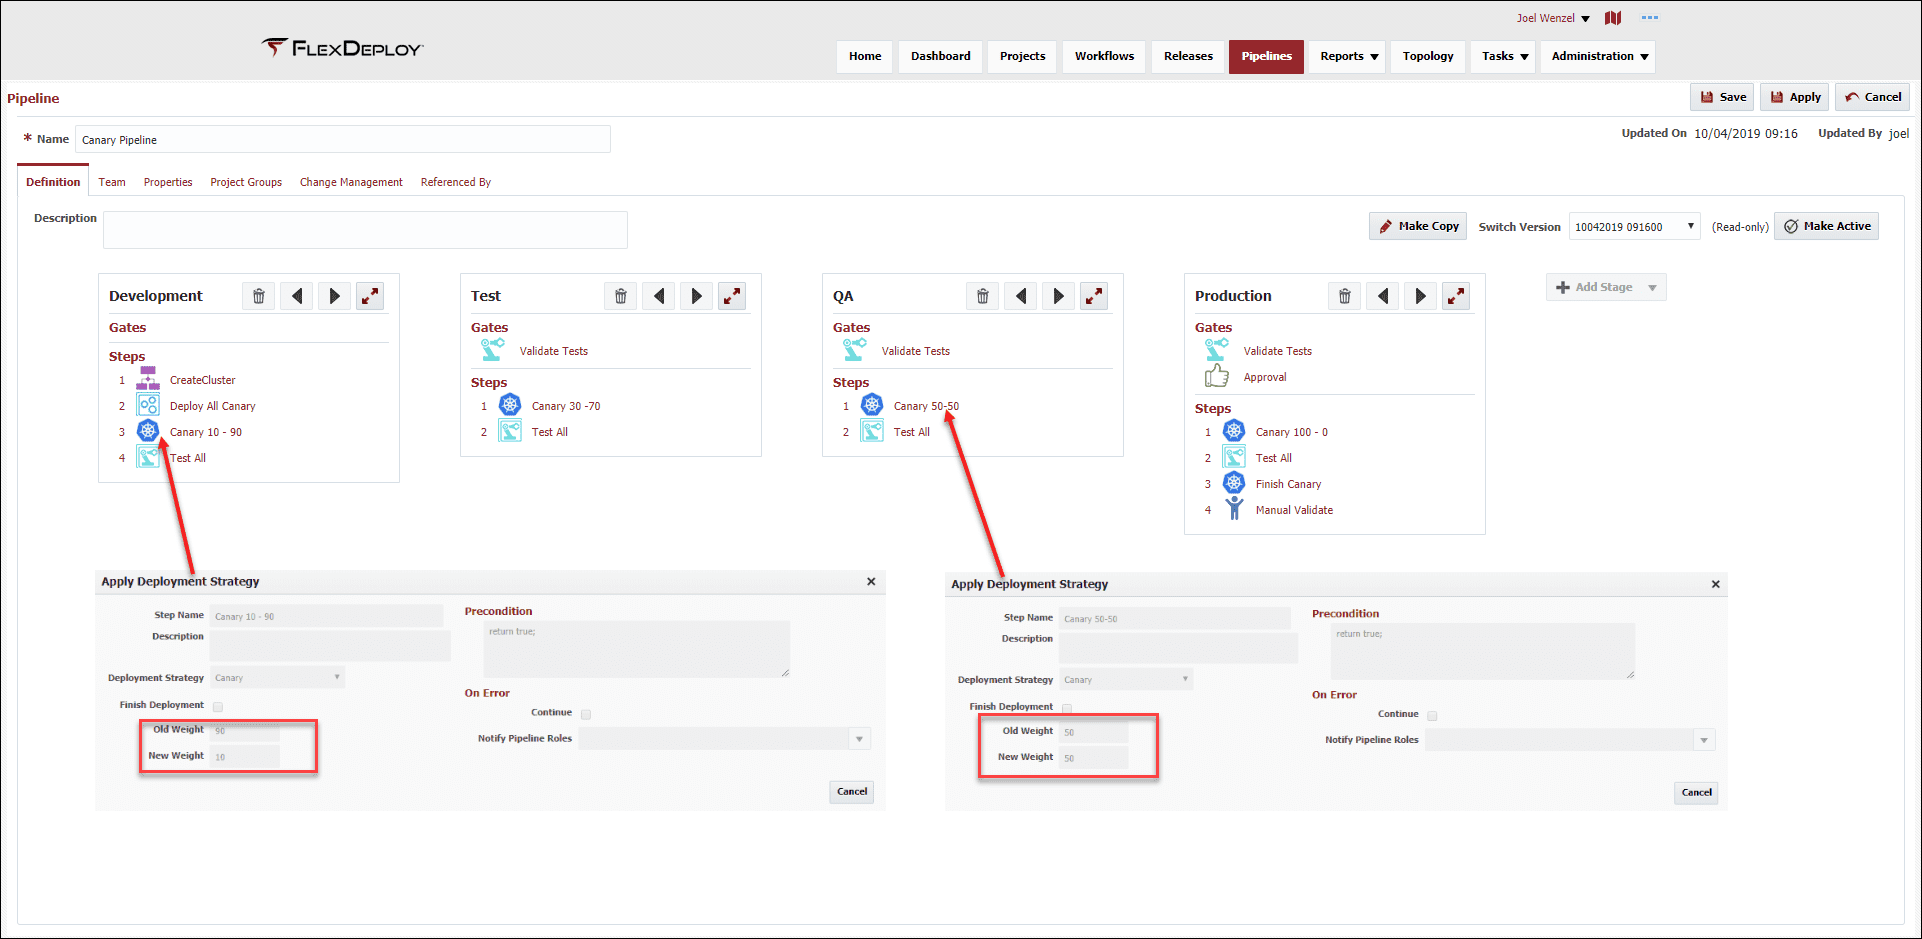
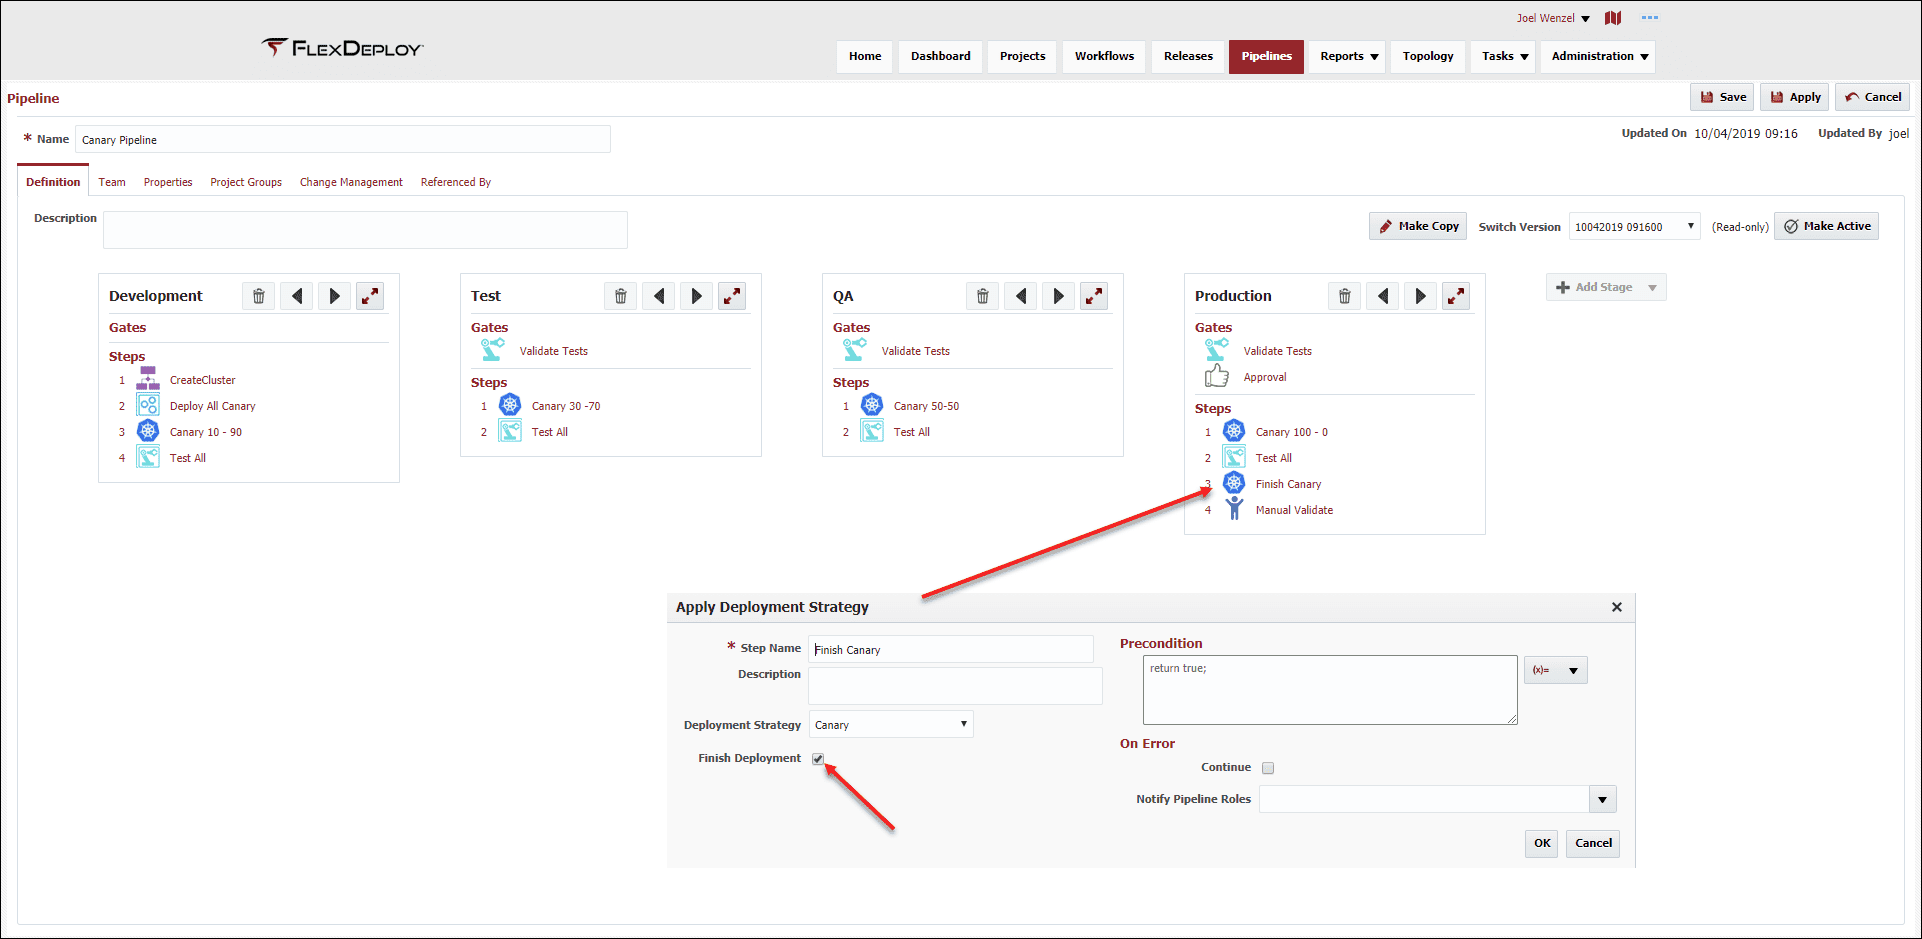
Pipelines now come with a new Step called ‘Apply Deployment Strategy’, which has anywhere from 2-4 fields depending on your strategy. For instance, Canary is the selected strategy here and we can see it then prompts for ‘Old Weight‘ and ‘New Weight‘. These weights correlate to the FD_KN_OLD_WEIGHT and FD_KN_NEW_WEIGHT we saw in the Yaml configuration. Consequently, as we deploy to higher environments, we are directing more of the traffic to the Blue (new version) Pods. Finally, the Pipeline finishes with a Deployment to Production where 100 percent is routed to Blue and then Blue is cut-over to Green, thus completing our deployment.
The Results
You may have noticed in the Pipeline that automated testing was done as well to validate the traffic. 10 requests were sent to the service with the output differing depending on whether the Blue or Green Pod was hit.
| Environment | Development | Test | QA | Production |
| Weights | 10-Blue, 90-Green | 30-Blue, 70-Green | 50-Blue, 50-Green | 100-Blue, 0-Green |
| Test Results | 2-Blue, 8-Green | 3-Blue, 7-Green | 6-Blue, 4-Green | 10-Blue, 0-Green |
The Conclusion
So why wait any longer? Deployment strategies can reduce your time-to-market, help you discover and solve any issues, and increase IT team (and customer) morale.

