

Our industry is going through a transition where on-premises applications are gradually being replaced by cloud applications and containers. Containers are used to package and run an application, along with its dependencies, in an isolated, predictable and repeatable way.
Docker is a containerization platform that enables users to create, deploy, and run applications conveniently with the help of containers. Thus, ensuring portability, isolation, scalability and high performance.
Azure App Service is a HTTP-based service for hosting web applications, REST APIs, and mobile back ends. This is a fully managed platform as a service (PaaS) offering from Azure. Azure Web App (Web App Service) is a subset of App Service, which can host websites and web applications.
FlexDeploy’s Azure plugin provides a simple and effective way to manage deployments to Microsoft Azure Cloud. In my previous blog, I explained how to deploy a .NET Function to Azure Web App infrastructure.
Creating and deploying the Docker image with associated properties to Azure Web App is a multistep process when done manually using Azure CLI, making it prone to human error. In this blog, I will explain how conveniently we can deploy a Python Docker image to Azure Web App with just few configurations/steps. As part of the web application deployment, FlexDeploy also provides a cleaner and more efficient way to manage relevant Application Setting and Connection String properties. In addition, visibility into and throughout the pipeline helps identify and debug issues faster.
Implementation steps
Azure account setup
Configure your Azure account details as a Cloud account under the Topology section of FlexDeploy. It should have Client ID, Client Key, Tenant Id and Subscription Id configured. The Client ID must have relevant access in the target Web App to deploy code and make other associated changes such as Application Setting update, etc.

Docker Registry account setup
The Docker registry account should be configured as a Containers account under the Topology section of FlexDeploy. It should have Registry User, Password and optionally the Registry Address. The Registry Address can be docker.io for Docker Hub or $ACR_NAME.azurecr.io for Azure Container Registry.

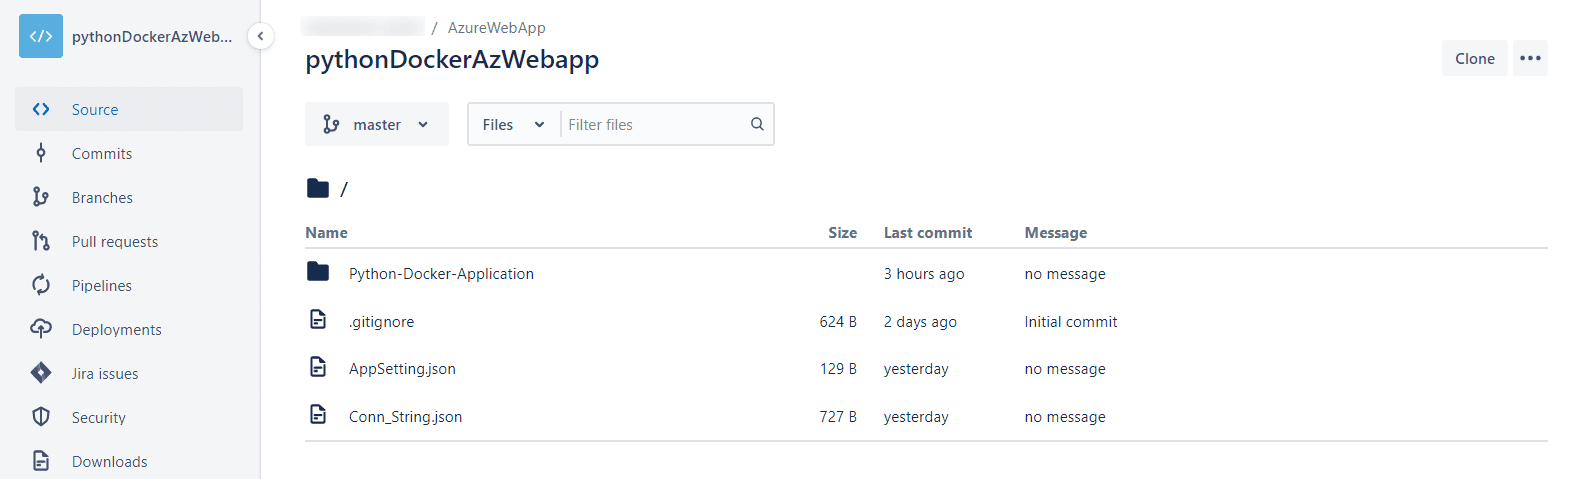
Git repo structure
The Git repository should contain the codebase. It can also contain any Application Setting and Connection String related attributes in respective files. Any naming convention is allowed.
Process flow
The FlexDeploy build workflow should download source code from Git repository, then build and push the docker image. The FlexDeploy Docker plugin can be leveraged to perform this activity against the intended Docker Registry.
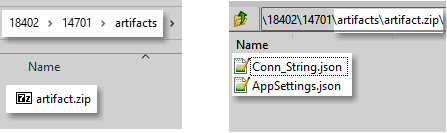
Also, if the Application Setting and Connection String files are used they should be saved as part of the artifact as shown below. The purpose of the artifact is to store essentials objects which can be referenced by a deploy workflow.
The Azure plugin operation deployWebApp should be used in the deploy workflow for the Azure Web App. If the Application Setting and Connection String files are part of the artifact, the plugin operation will first update the respective values in Azure Web App. Next the plugin will deploy the Docker image (generated through the build workflow) to Azure Web App.
Note. The deployWebApp operation is not going to create the Web App infrastructure. Instead, you should use the FlexDeploy Azure plugin executeARMTemplate operation to create the infrastructure prior to deployment. Also, to support a docker image, the Azure Function App Runtime must be created as a Docker container.
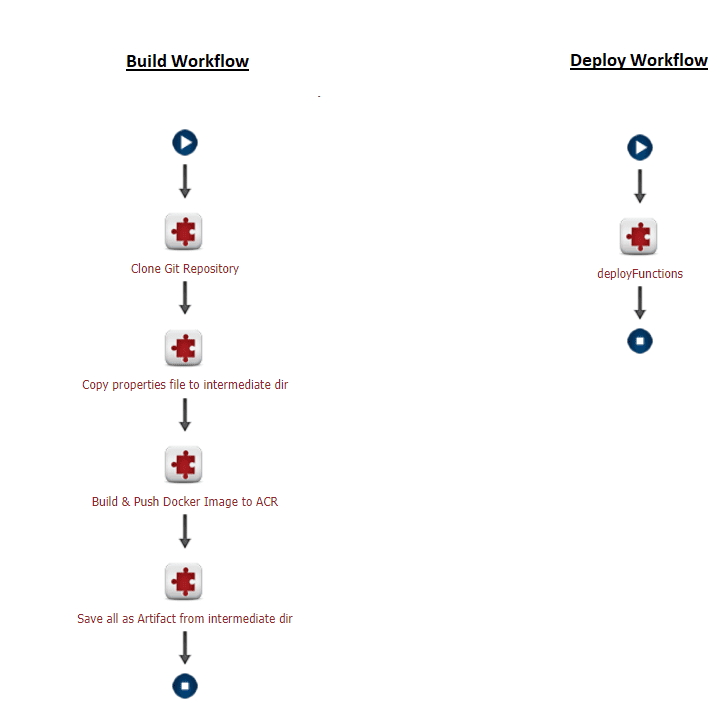
Build and Deployment Workflow
Considering the above configurations, if we configure the Build and Deploy workflow they should look like this:
Configuration Steps
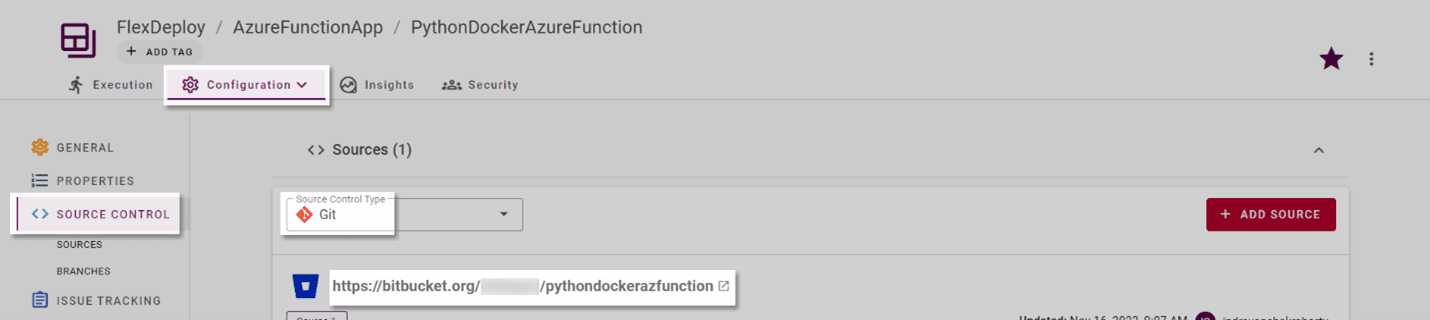
Source Control
The Git Repository should be configured in Source Control section under Project Properties.
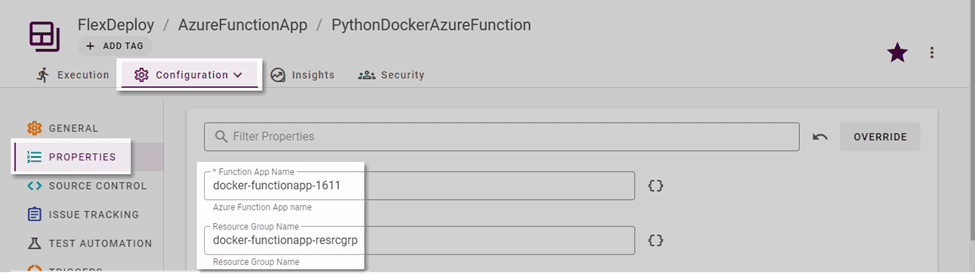
Target details
As part of Project properties, target Web App Name and corresponding Resource Group Name details must be provided.
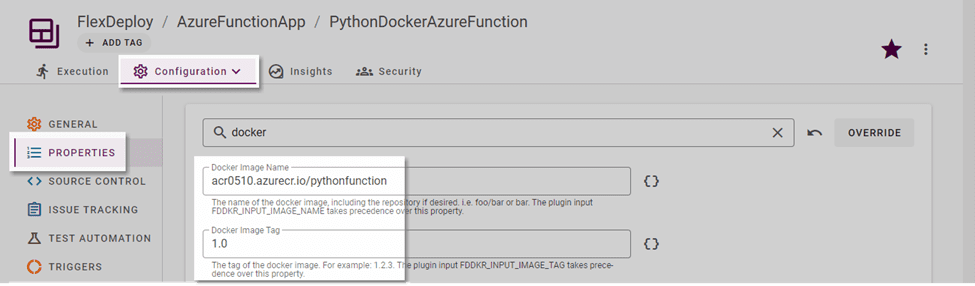
Docker image details
The Docker image details also need to be provided as part of the Project properties. This detail will be used both to build and deploy the docker image.
Application Setting and Connection String properties
Please refer to Managing Application Setting and Connection Strings section from this blog for detailed explanations and steps for handling the mentioned properties.
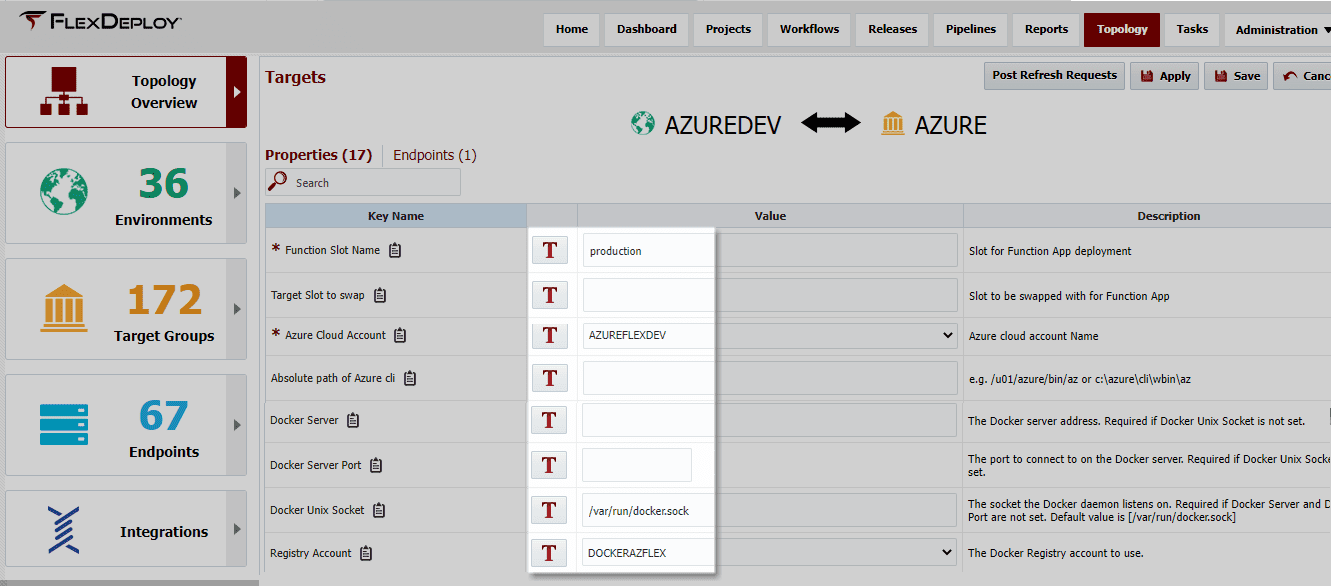
Environment Target properties
The target Azure Cloud and Docker Registry account needs to be set here from the drop-down. It will show all Cloud/Container accounts configured under Topology, which we have already mentioned earlier.
The Docker image will be deployed to the Web App Slot Name configured here. The default value of the Slot is production. However, the Docker image can be deployed to any other slot as well. FlexDeploy’s Azure plugin also has provisions to swap the Azure Web App Slots as needed.
Execution steps
To initiate the Build workflow, navigate to the Project Execution tab. Select the BUILD button on top right corner. This will open a popup to submit the build request. We need to select the configured Environment and select SUBMIT.

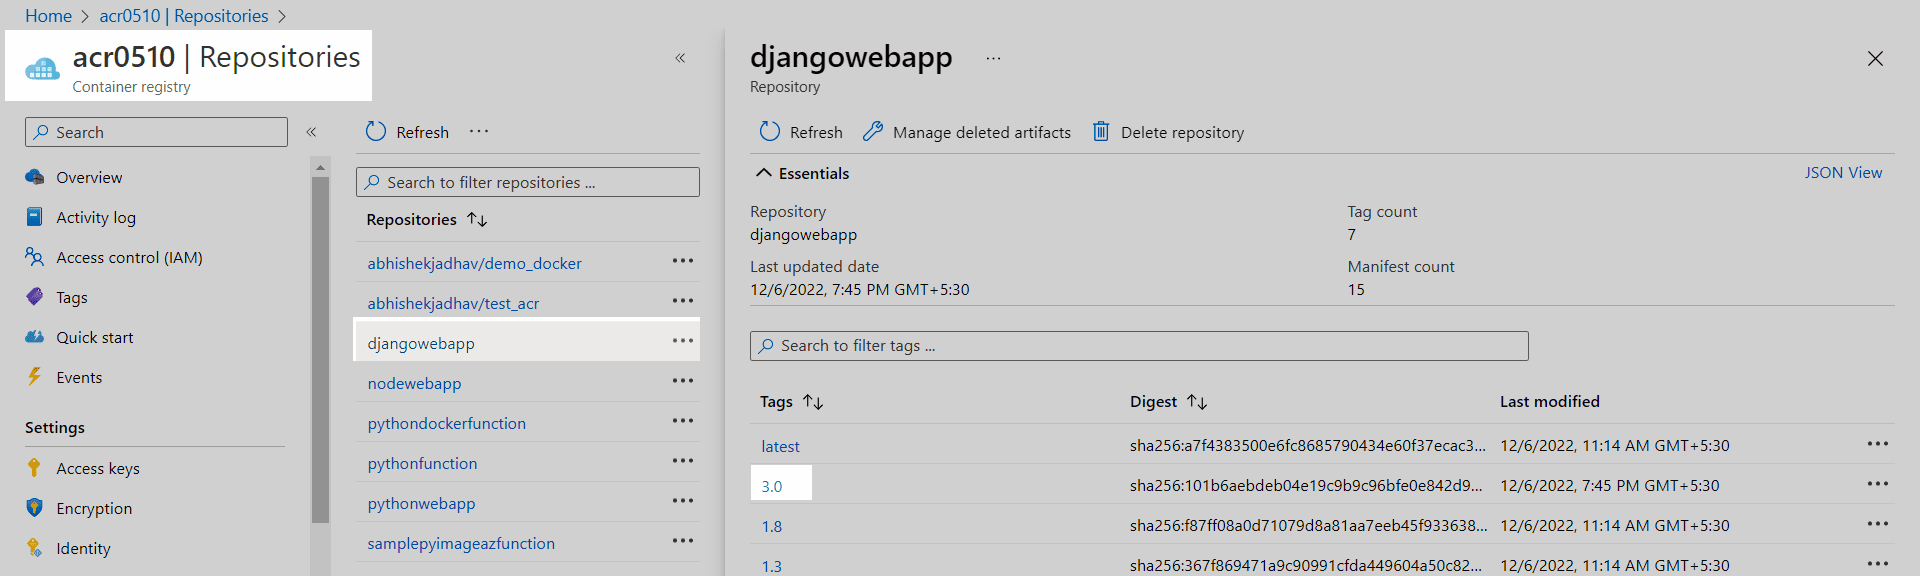
Once completed we can find the image uploaded to the Azure Container Registry.
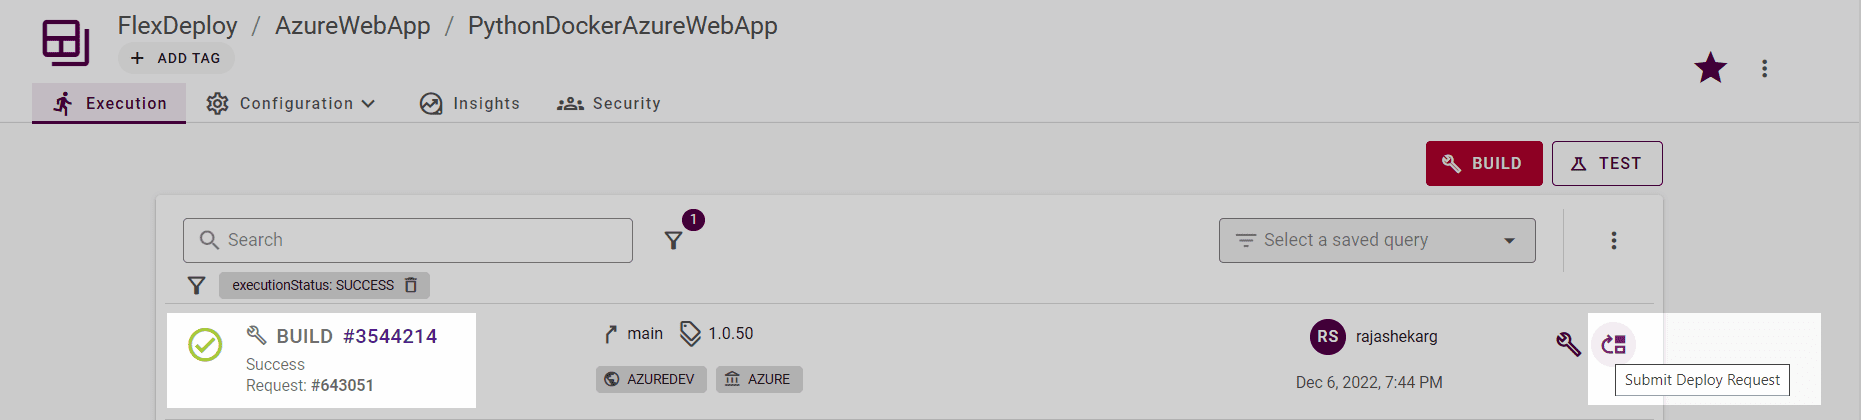
After the build is completed we can initiate the deployment by selecting Submit Deploy Request.
Once successfully executed, we can verify from the log that deployment completed as expected.

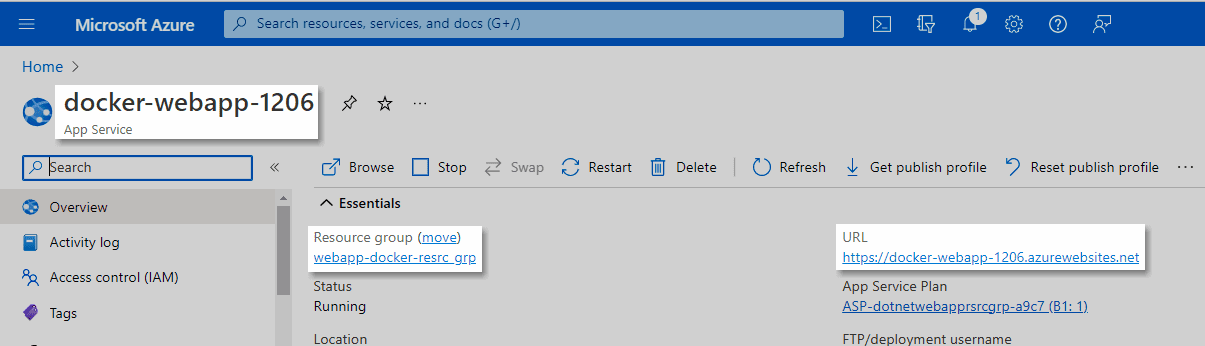
From the Azure Portal, we can find the Web App is running and we can find the Web App url.
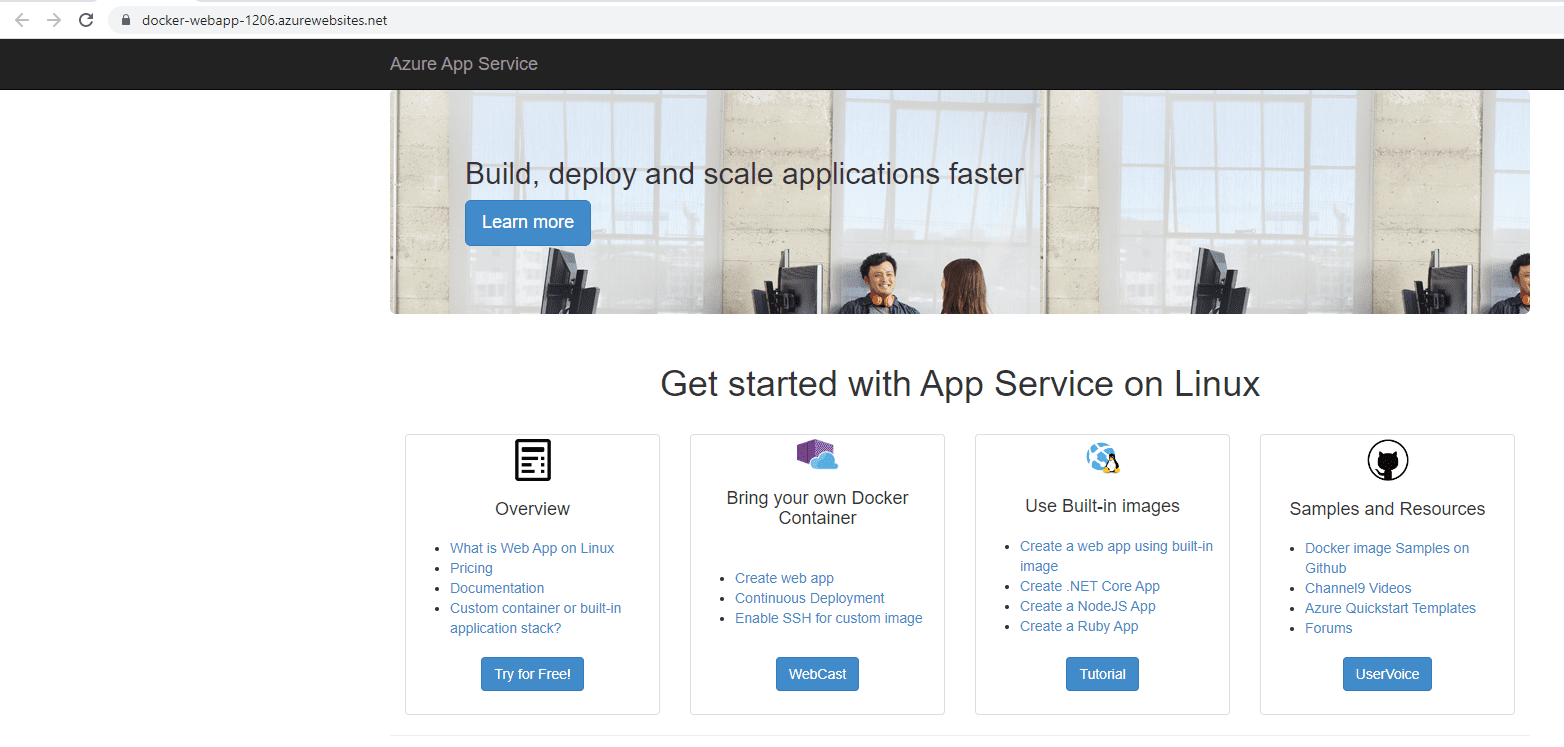
We can also verify the deployed application through the Web App url.
Conclusion
For anyone dealing with Azure Web App, FlexDeploy’s Azure plugin can be a significant value addition. Deployment can be streamlined with minimum effort ensuring end-to-end visibility and reducing manual processes and errors.
FlexDeploy supports Continuous Integration for all your build tools and Continuous Deployment for Azure and other major Cloud providers. You can fully automate your Azure infrastructure and code deployments using FlexDeploy’s Release and Pipelines. With toolchain integration, you can implement quality gates, approvals, notifications, automated code scanning, and test automation with simple configurations.