FlexDeploy is a DevOps platform for CI/CD with out of box support Oracle APEX build & deploy automation. Oracle Application Express (APEX) is a common low code development framework, which is also used to develop extensions for Oracle E-Business Suite.
This FlexDeploy Loves APEX Blog Series will help you understand what makes FlexDeploy a perfect choice to implement DevOps and Continuous Delivery with Oracle APEX. Here is a summary of FlexDeploy Loves APEX Blog Series:
- FlexDeploy Loves APEX: Source Application from SCM (Git, SVN, etc.)
- FlexDeploy Loves APEX: Source Application from Development Environment
- FlexDeploy Loves APEX: Continuous Integration for APEX
- FlexDeploy Loves APEX: Deploy Individual Application Pages
- FlexDeploy Loves APEX: Deploy the Applications and Supporting Objects
In this blog article, we will discuss using FlexDeploy to export APEX application from the development environment and promote automatically to other environments like Test, QA, Production, etc.
APEX Application
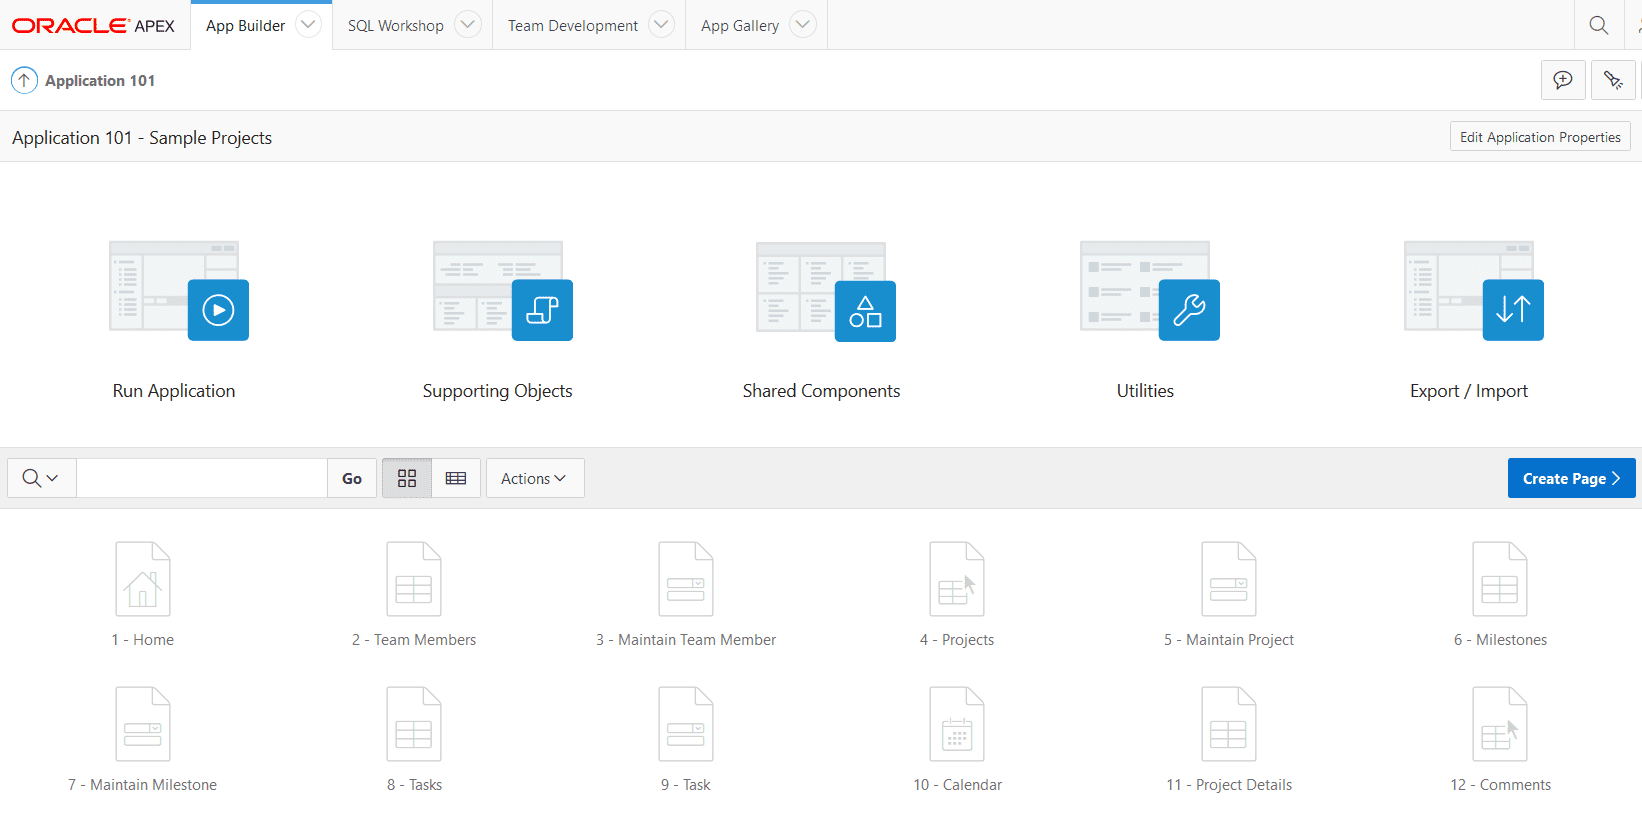
In this approach, we will source the APEX application from the development environment. APEX development happens in a browser against the development environment, so there is nothing else needed by the developer at this point.
Configuration Steps
FlexDeploy configurations (step #2 below) is a one-time activity, and it does not require any scripting. We recommend the use of FlexDeploy Blueprints for faster setup.
- Install SQLcl on FlexDeploy server
- Configure FlexDeploy (workflows, topology, project, etc.)
FlexDeploy Blueprints will create everything we need just like in the previous blog post. The only difference is that we will choose App Builder instead of SCM Repository.
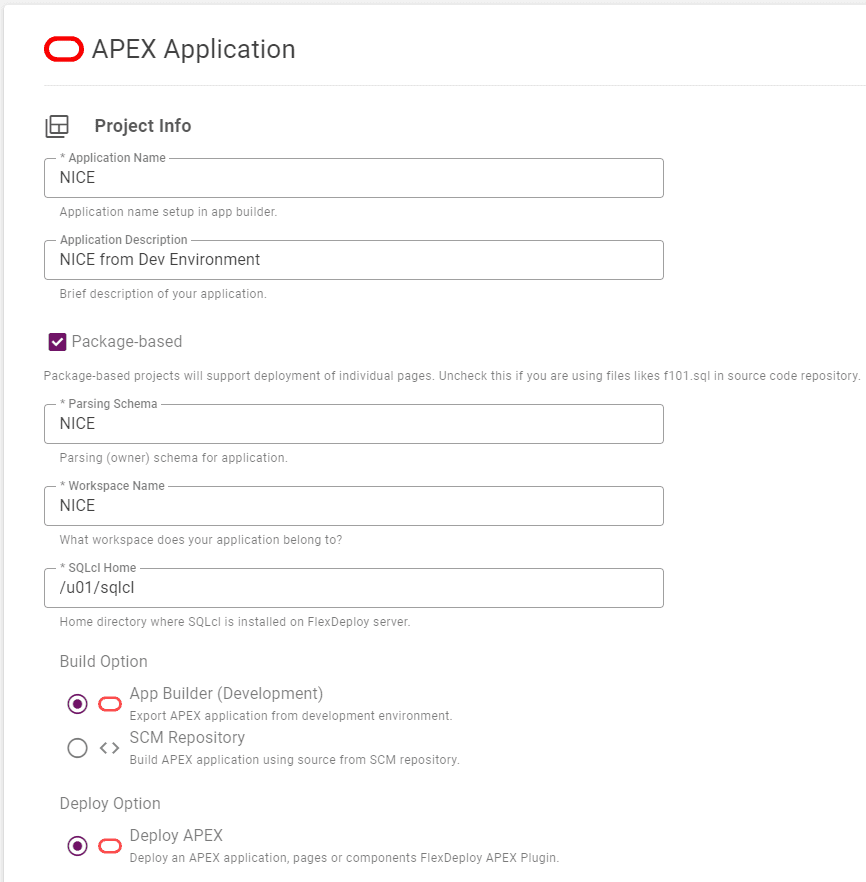
The sections below will already be filled in from the first blog in this series, but you can refer back to it if you didn’t perform those steps.
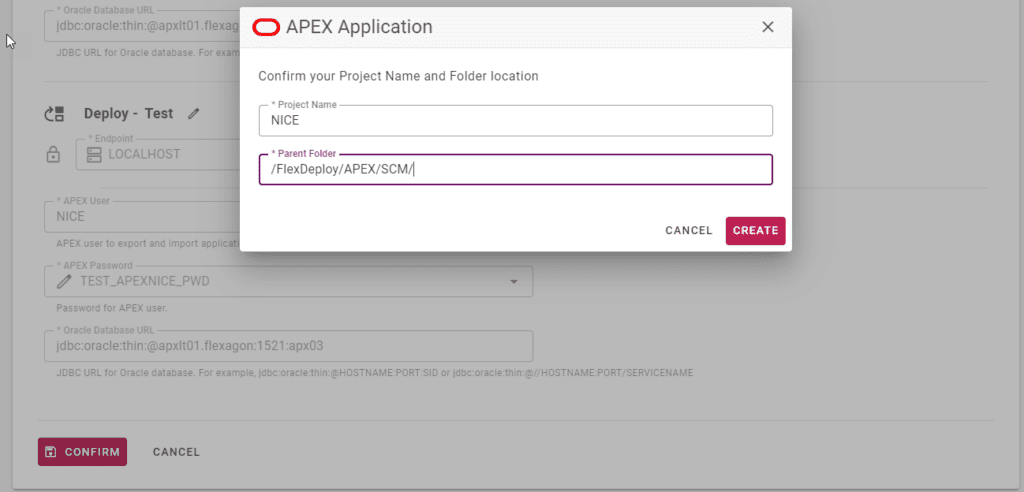
When you confirm the settings, use a different folder so that the project name doesn’t conflict.
Discovering Files and Creating Packages
Go to the File Catalog.

Click Discover, and then Show new Files.

Create a new package which will have a page or other contents that you want to deploy.
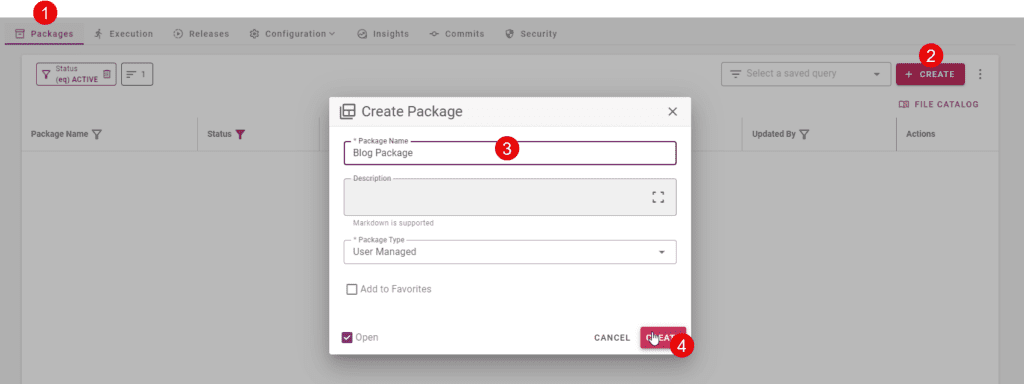
Add one or more files.
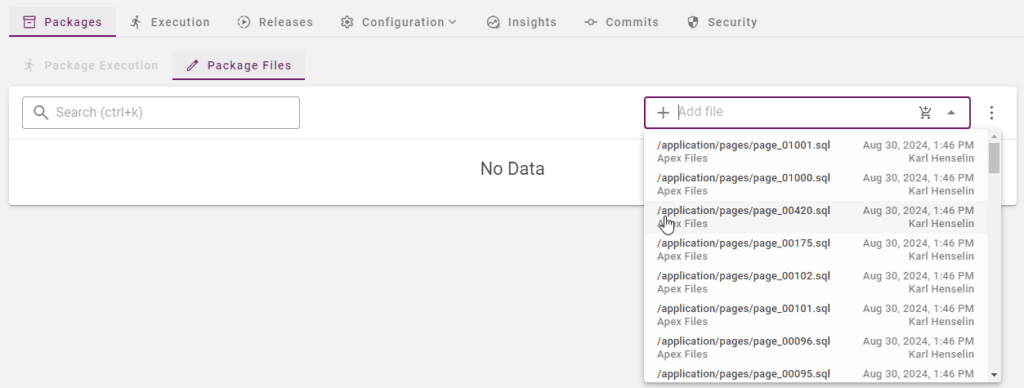
Build and Deploy
Now we are ready to execute build and deploy. Build is started either 1) Manually, 2) REST API, 3) CI Triggers, 4) Release and Pipelines. We recommend Release and Pipelines usage as that allows you to deploy your APEX application with other supporting objects such as packages, tables, sequences, and other database objects.
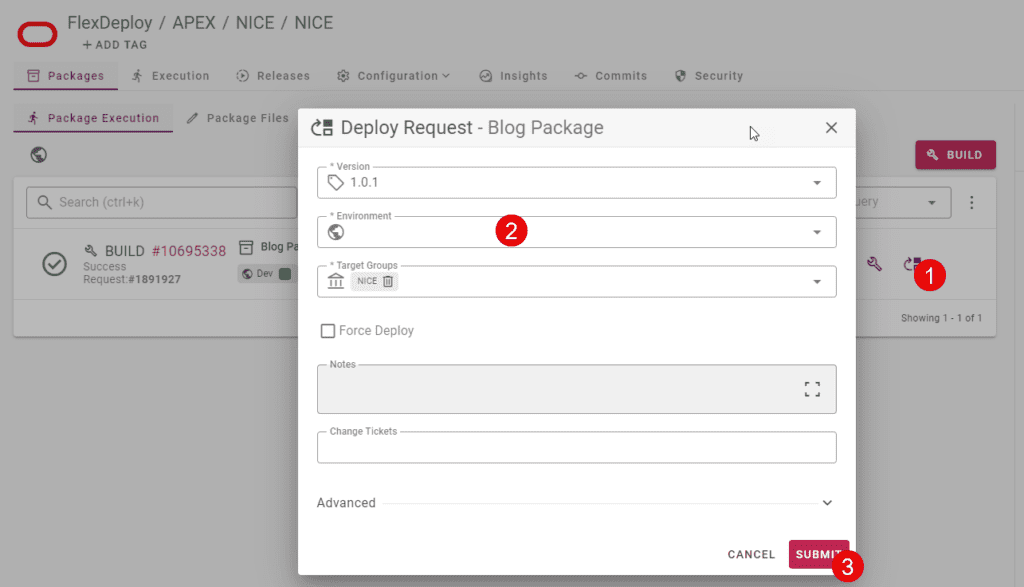
After the successful execution of build workflow, FlexDeploy will store artifacts in its artifact repository with a unique version. You can deploy a specific version to any environment.
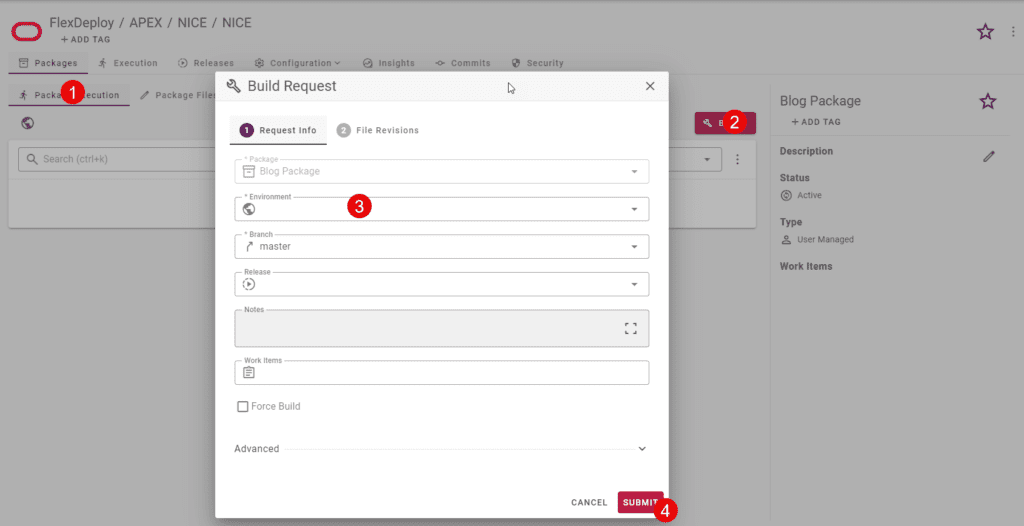
You can request a deployment manually, as shown below, or you can use other automated approaches to deploy a specific version. Note that approval, schedule, notifications are all available as they are part of the FlexDeploy platform.
You can also use dashboards and reports to review history and state of deployed applications. Additionally, you can use test automation to run automated tests against a deployed application. Test results can be further used to decide if the version should be promoted to the next environment or not. All these are options available for any project in FlexDeploy.
You just saw how you can configure an APEX project in FlexDeploy, and automatically promote an APEX application from Development to various environments. You can now just copy this FlexDeploy project and adjust various properties to match another APEX application.
In next post, I will show you how to export an APEX applications from development environment and commit to SCM.

