This blog is the third in the FlexDeploy Loves OIC blog series, stay tuned for subsequent entries in the series.
- FlexDeploy Loves OIC: Series Overview
- FlexDeploy Loves OIC: Manage Integrations with Connections
- FlexDeploy Loves OIC: Manage Connection Property Replacement
- FlexDeploy Loves OIC: Continuous Integration
- FlexDeploy Loves OIC: Automated Testing
- FlexDeploy Loves OIC: Continuous Delivery with Pipelines and Releases
- FlexDeploy Loves OIC: Manage Connections, Lookups and Libraries
Oracle Integration Cloud (OIC) provides the ability to develop an integration in the cloud. The integration can connect cloud and/or on-premise applications; however, these integrations are maintained directly in the cloud and not in any Source Code Management (SCM) system. Consequently, applying the DevOps principle of Continuous Integration with OIC isn’t as straight forward as it is with a SCM system to watch for changes.
Luckily, FlexDeploy has a few tricks that can make this process easier which we will walk through here. At a high level these are the steps to perform:
- Create a utility workflow and project to sync an OIC integration to Source Control.
- Modify the OIC project from the first blog post to reference source control, or setup a new full or partial OIC project for it.
- Add a CI trigger to the OIC project from the first blog post. Now whenever a developer triggers the sync, the project will be stored in source control, built, and deployed
Cloud Account
If you have been following along since the beginning then this would be done already. However, if you are just joining you can review the Cloud Account creation process here.
SCM Integration
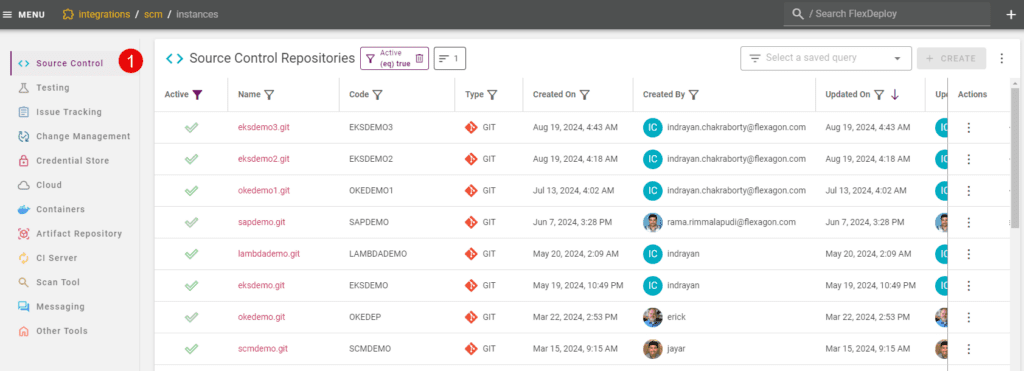
In order to make use of FlexDeploy’s built in CI server, we need some SCM Integration instance. Navigate to Topology->Integrations->Source Control and create a new SCM Instance, or use an existing one.
Utility Workflow
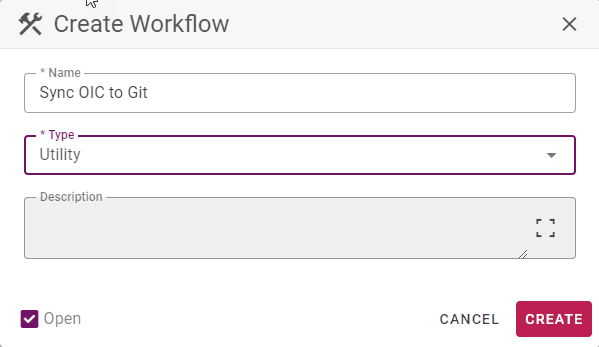
Create a new utility workflow.
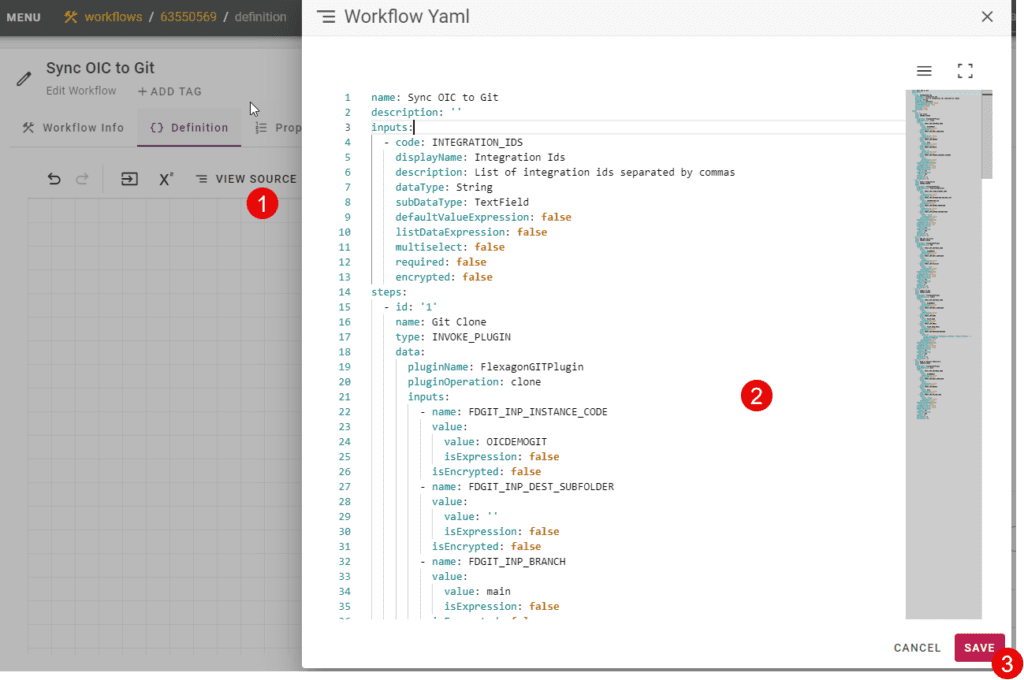
This time, I will provide the workflow source for you to import as it has quite a few steps.
To import it, click on View Source above the workflow canvas, and paste in the contents of the file above.
Project Configuration
Configure a new utility project to use the workflow you created.
Configure the MyIntegration Project to use the source control that you configured.
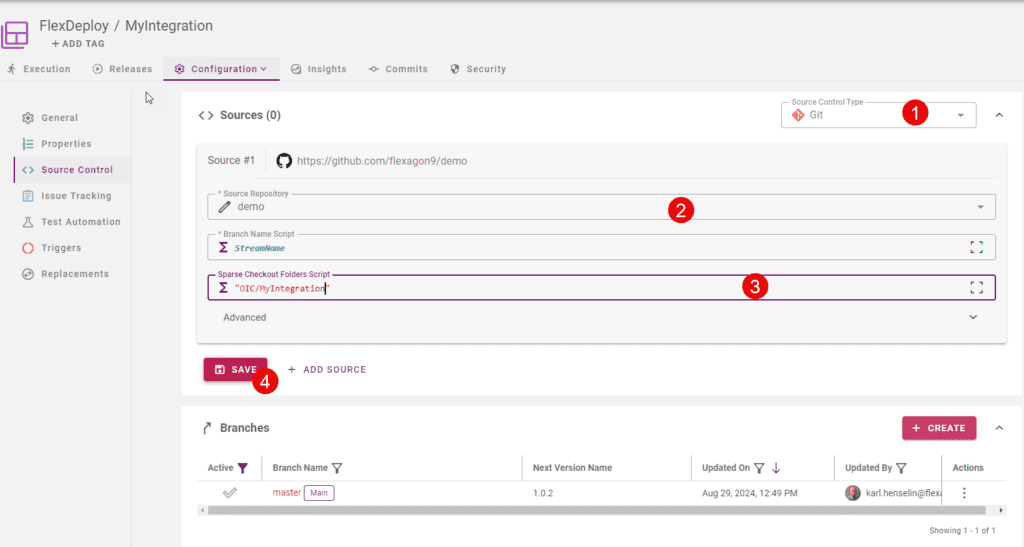
Last but not least, we need to update our MyIntegration Project to use this new configuration and add the CI trigger.
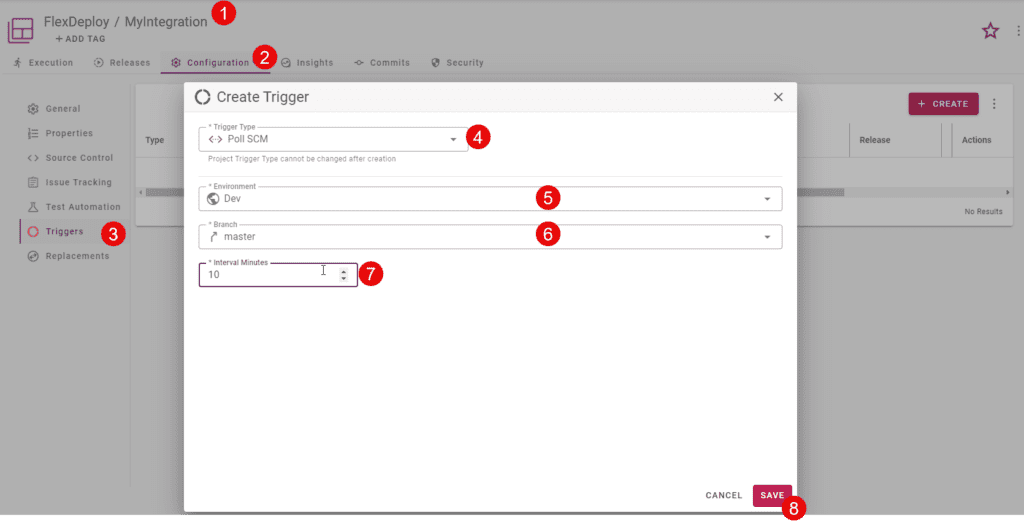
Validation
After making a change to MyIntegration, I go to FlexDeploy and use the utility project to sync my change to SCM.
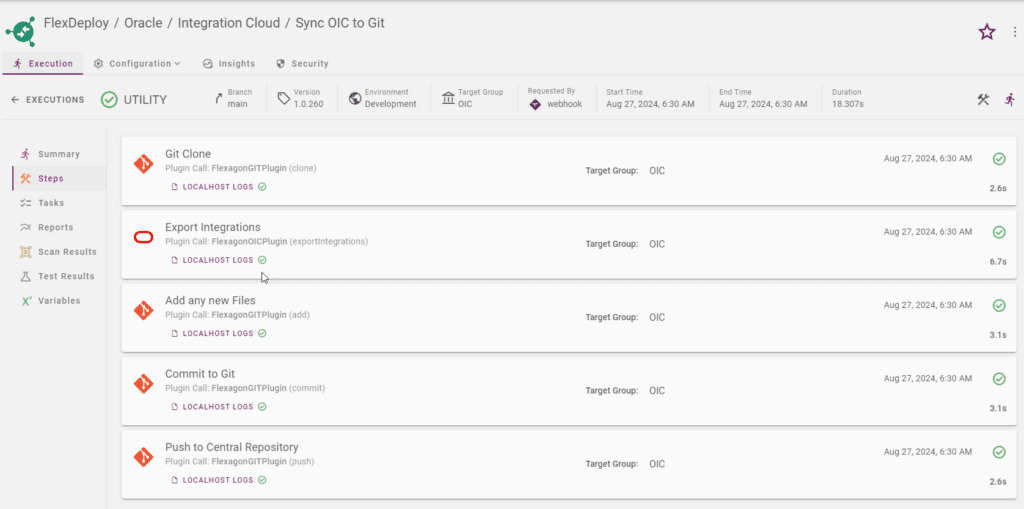
Then the MyIntegration project automatically picks up the change.
There you have it. In just a few simple steps we can configure OIC with Continuous Integration by making use of common FlexDeploy features.
Previous Post: FlexDeploy Loves OIC: Manage Connection Property Replacement
Next Post: FlexDeploy Loves OIC: Automated Testing


