Oracle / Database and APEX
Automate Migrations for Oracle APEX and Databases
Minimize costs and optimize efficiency and security with automated migration of APEX applications, pages, and supporting database objects.
0%
Reduction in average deployment time
0%
Reduction in errors
0%
Reduction in costs
0%
Reduction in database administration tasks
global leaders Trust flexdeploy for end-to-end devops
VALUE. EFFICIENCY. FLEXABILITY.
Accelerate APEX app release cycles while minimizing human errors
Multiply time and cost savings with automated pipeline releases through FlexDeploy. It delivers native support for APEX applications, Oracle Database objects, and REST Data Services. Developers and DBAs rely on FlexDeploy to extend SaaS applications, enhance Oracle E-Business Suite implementations, and deliver more significant innovation.
Reduce manual errors by automating APEX application deployment
Accelerate software release with simple database objects promotion
Gain greater http capabilities with native support for Oracle REST Data Services
Lower costs with streamlined CI/CD workflows and release pipeline
Elevate capabilities and toolchain investments with built-in integrations
FlexDeploy INteractive Demo
Expedite the advancement and deployment of Oracle APEX applications

APEX and Database users accomplish more with FlexDeploy
Explore Features
APEX applications support
Straightforward web app development using automated build, package, and deploy processes that reduce manual effort and errors.
Database objects support
Streamlined promotion of database objects across environments, enabling error-free transitions from development through testing and into production.
REST data services
Native support for Oracle REST Data Services for automated build and deployment of RESTful services.
Version control integration
Seamless integration with Git, Subversion, and other popular version control systems that manage/track changes effectively, build collaboration, maintain history, and simplify rollback.
Test automation
Easy test validation within your CI/CD pipeline using integrations for UtPLSQL, JMeter, Selenium, and other test automation tools.
Security and compliance
Robust security measures including user authentication, role-based access control, and automated code scanning with ApexSec for protection from internal and external threats.
Customizable dashboards and insights
Real-time visibility and insights into your build, deploy, and release metrics to optimize the software delivery pipeline.
See what's new with FlexDeploy, Database, and APEX

FlexDeploy for Oracle APEX
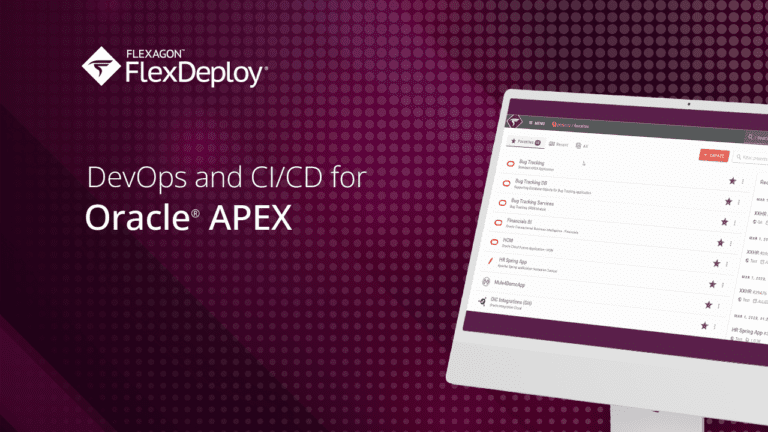
FlexDeploy expedites the advancement and deployment of Oracle APEX applications and their essential resources throughout the pipeline, seamlessly reaching production.
How Heathrow’s IT Landscape Transformed
Heathrow needed more modern processes, including automation and a shift to the cloud.
FlexDeploy for Oracle APEX
A simple way to build, deploy and test APEX applications.
FlexDeploy for Oracle Database
FlexDeploy enables database developers and DBAs to move at the speed required today.


