

FlexDeploy allows you to search and select your Azure repos in Blueprints. FlexDeploy uses your Azure DevOps Username and personal access token to search for all repositories under a specified organization. In this blog we will walk through the process to use one of these repositories for a FlexDeploy project.
We will assume you have already created an organization, project, and repository in Azure DevOps that will be referenced by FlexDeploy.
Azure DevOps
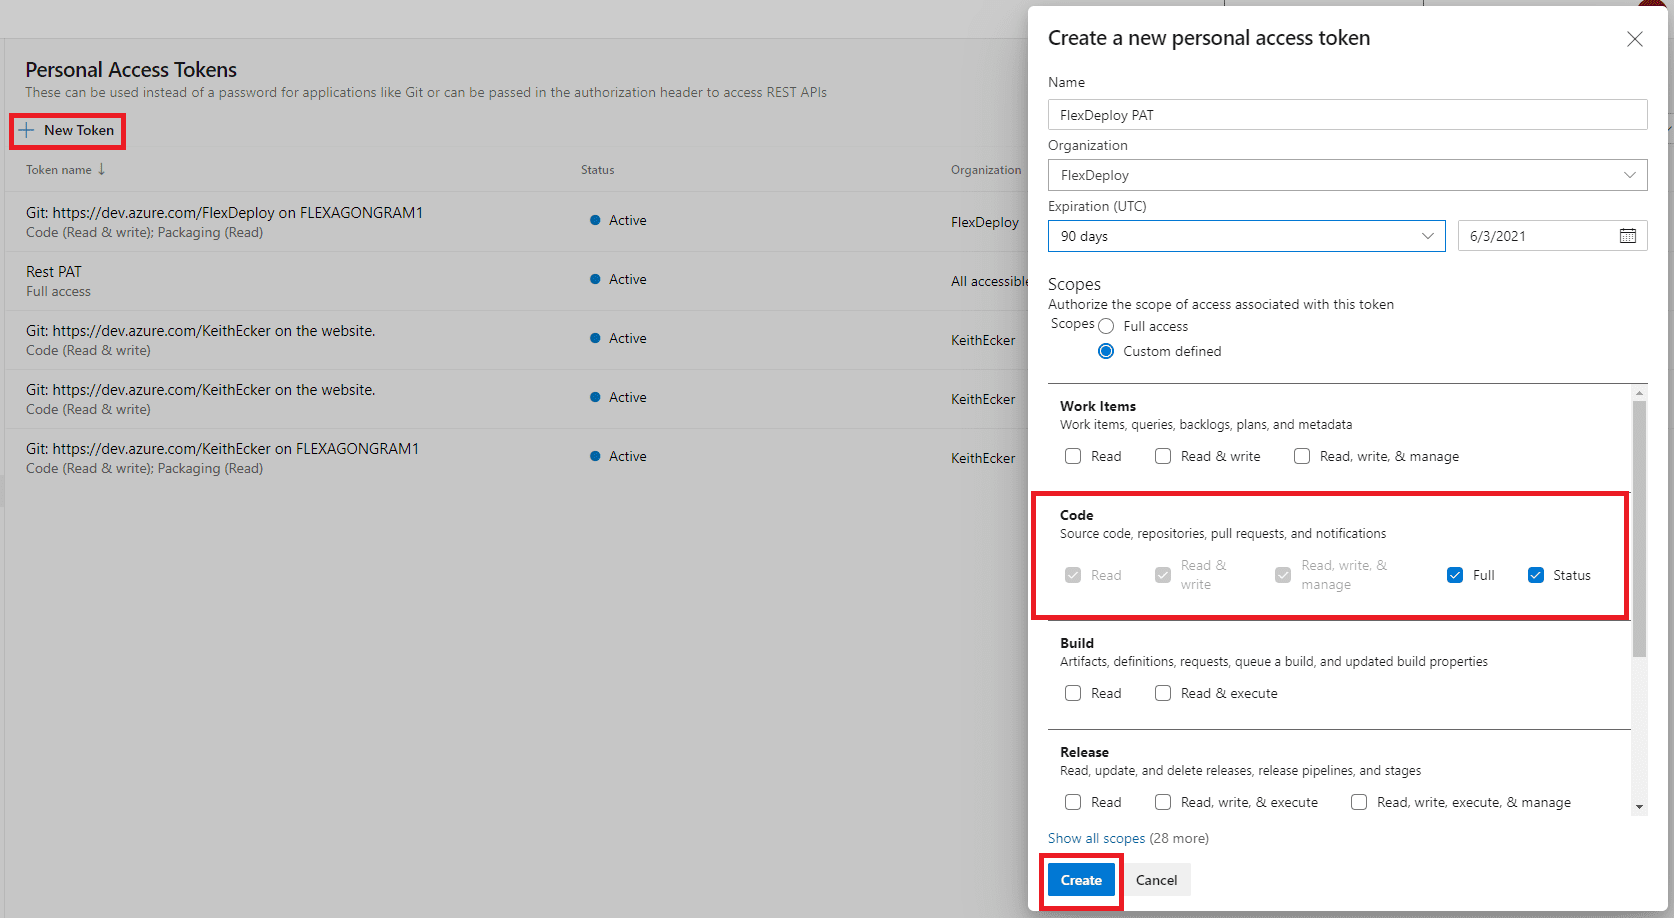
First, we will create our repository on Azure DevOps and obtain the personal access token that FlexDeploy will use. Begin by generating the personal access token on the Azure DevOps site. Navigate to the personal access tokens page by clicking on the settings drop down on the top right of the screen, then click on personal access tokens.
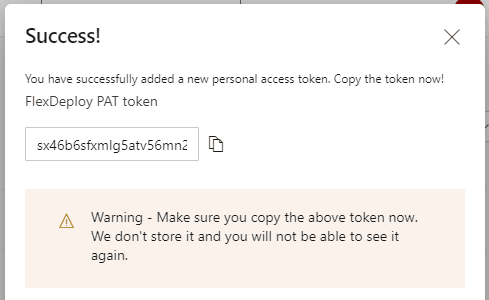
Click on the New Token button and enter the relevant information. You can specify which organizations can be accessed through the tokens as well as specific permissions. You will need to copy the token as once you navigate away from this screen you will no longer be able to see the token.
Blueprints
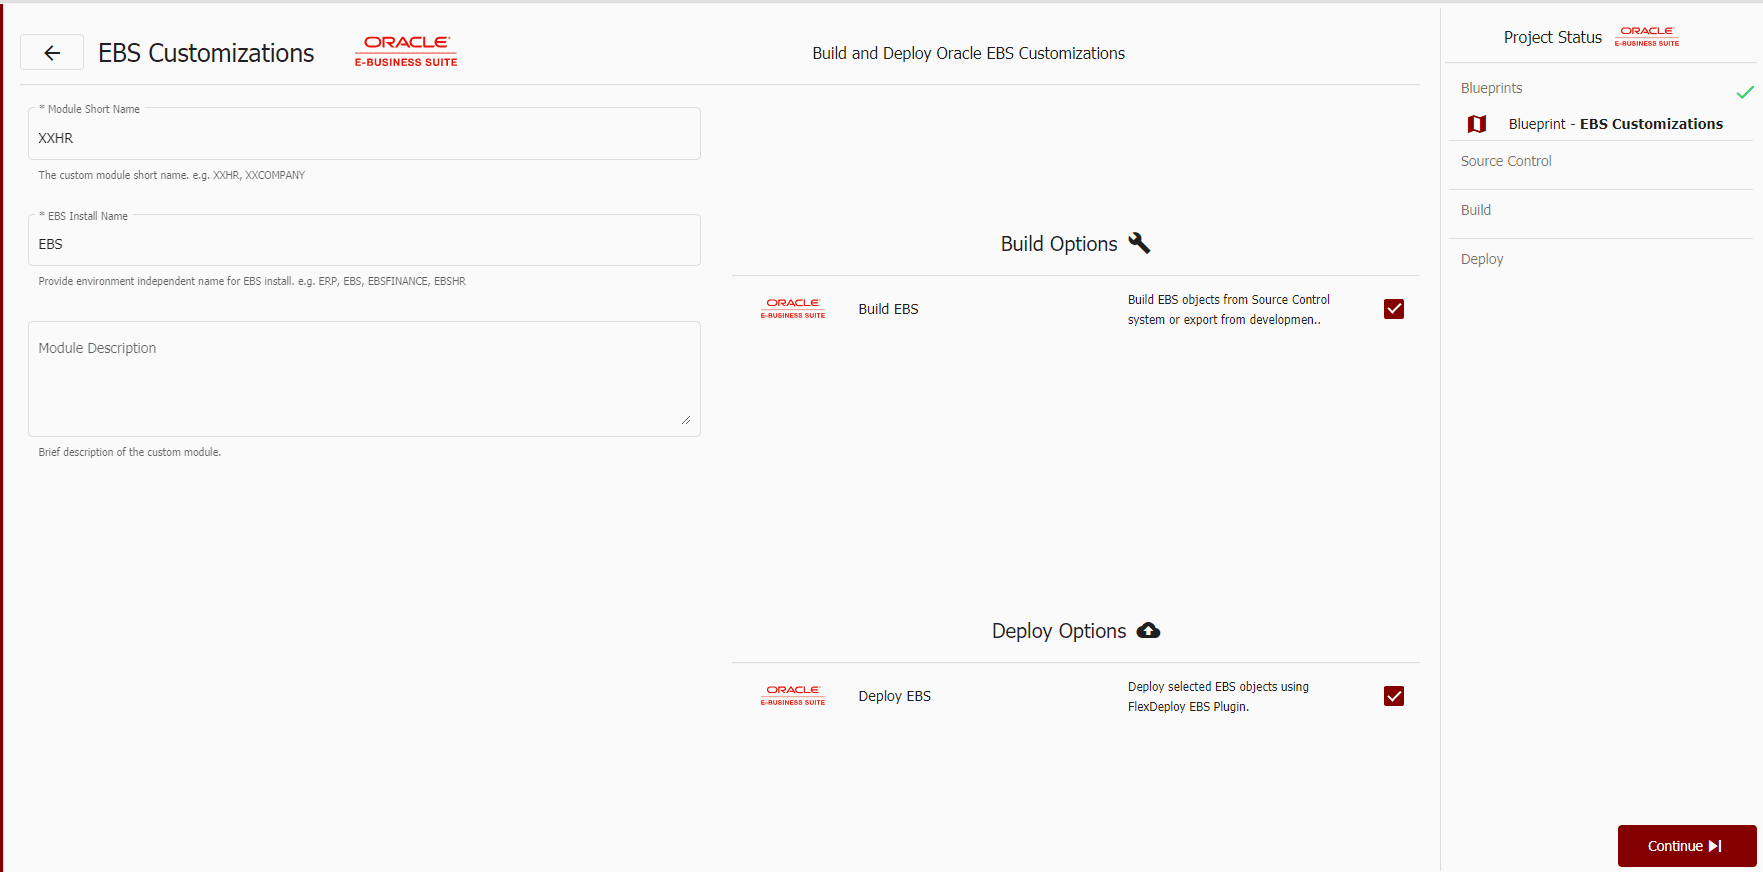
Next, we will move to FlexDeploy to add our Azure Repo to a project using Blueprints. First, select the project type that you wish to create. In this example, we will be creating an Oracle EBS project.
Once the project type is selected, enter the relevant information and press continue.
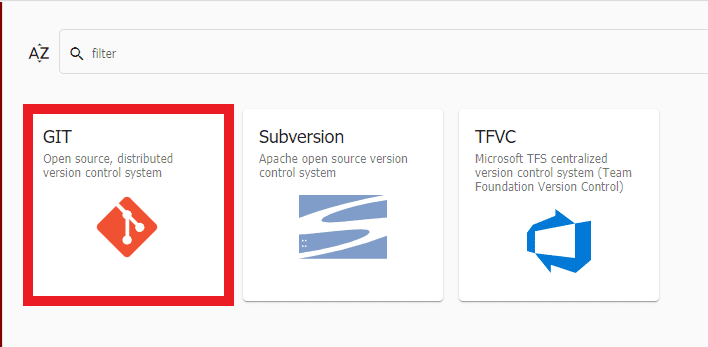
Once you are on the SCM screen, select the SCM you’re using. We will select the Git icon, which will bring up a list of Git providers to select from.
 We will be selecting the Azure option. Enter your organization and personal access token that we generated earlier and click continue.
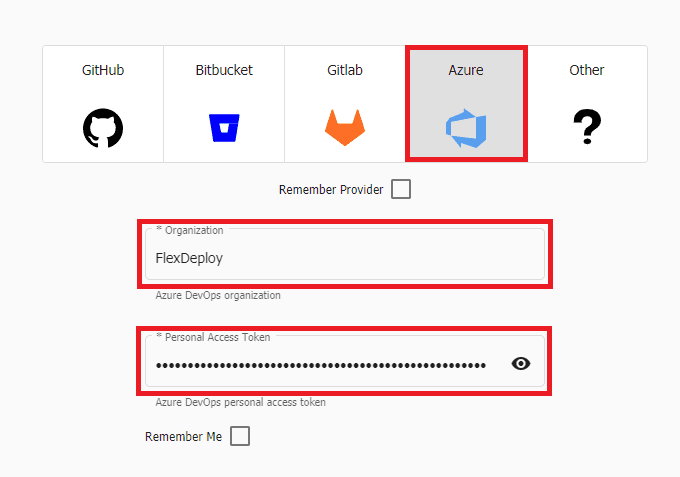
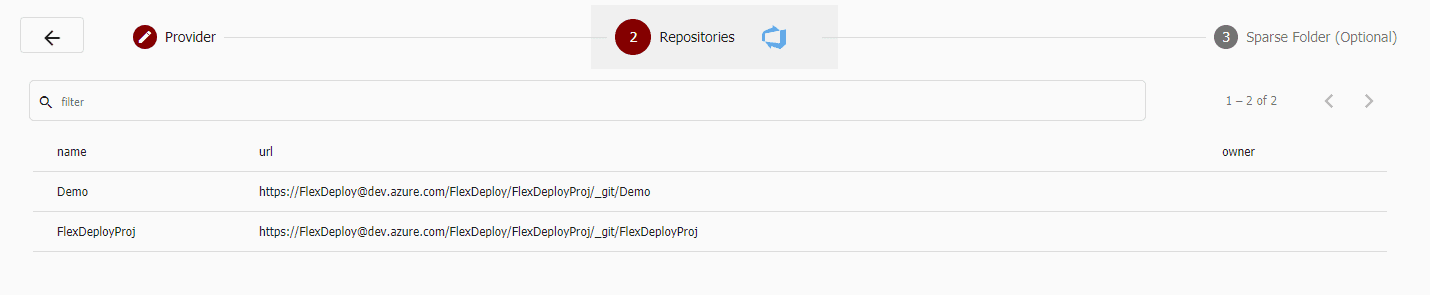
You will get a list of repositories for your organization, select the desired one and click “Continue”.
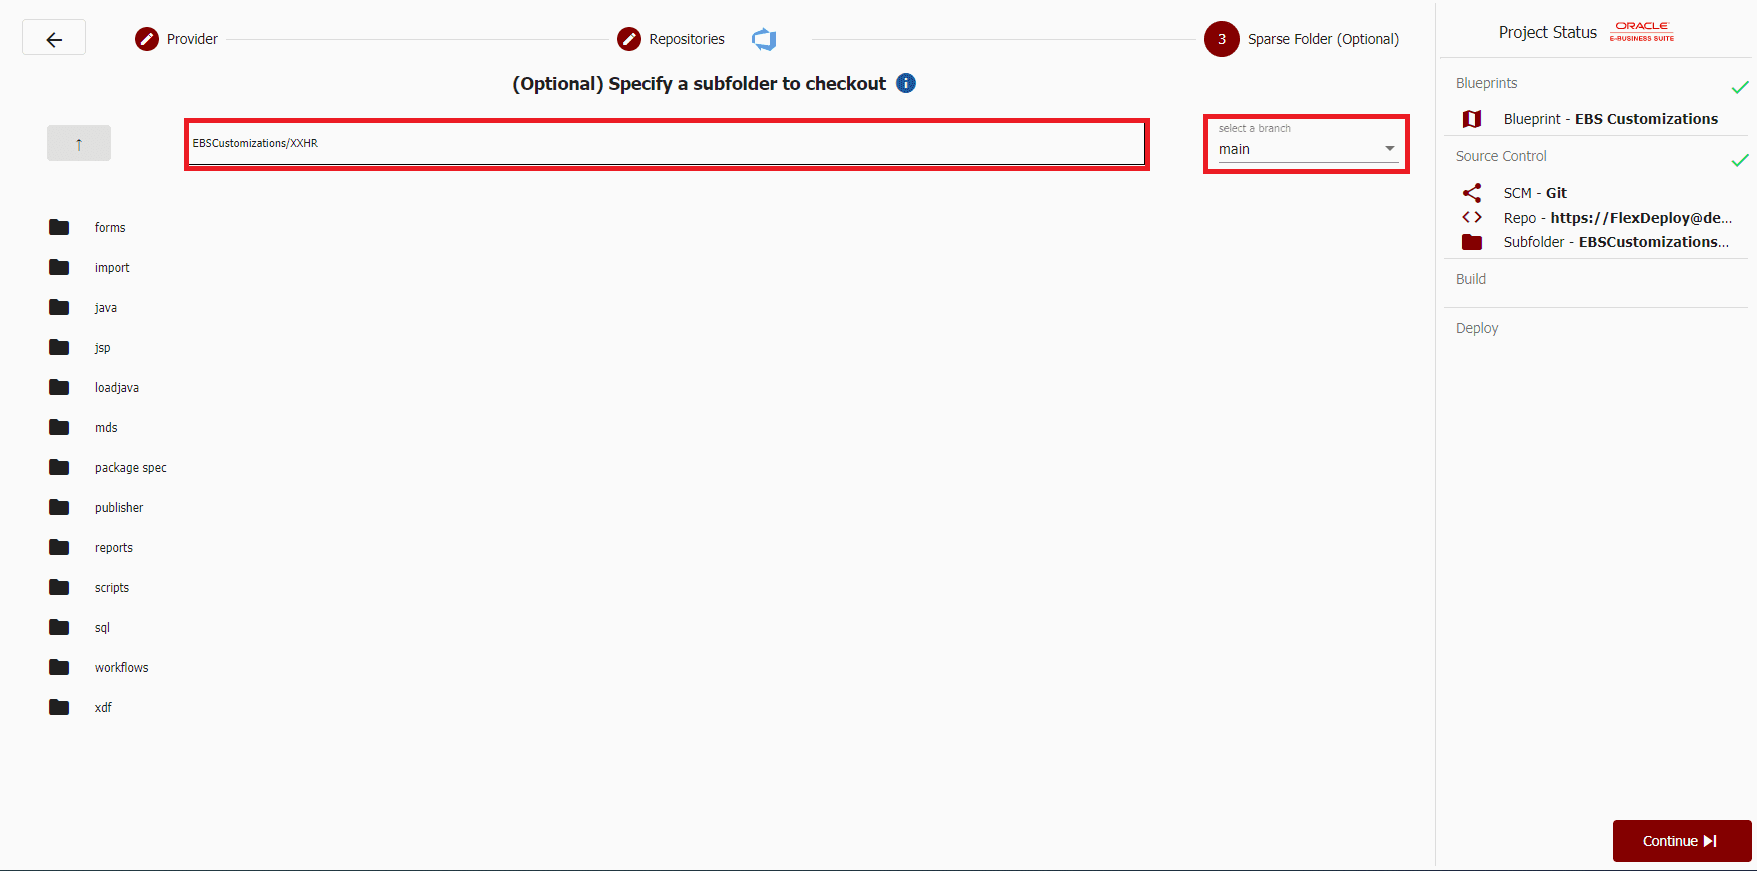
Next, we will get an option to specify a sparse checkout folder and branch. To specify a branch, select the desired branch in the top right drop down.
Then specify a sparse checkout folder by selecting the desired folder. When a sparse checkout folder is specified FlexDeploy will only checkout that specific folder when cloning the Git repository.
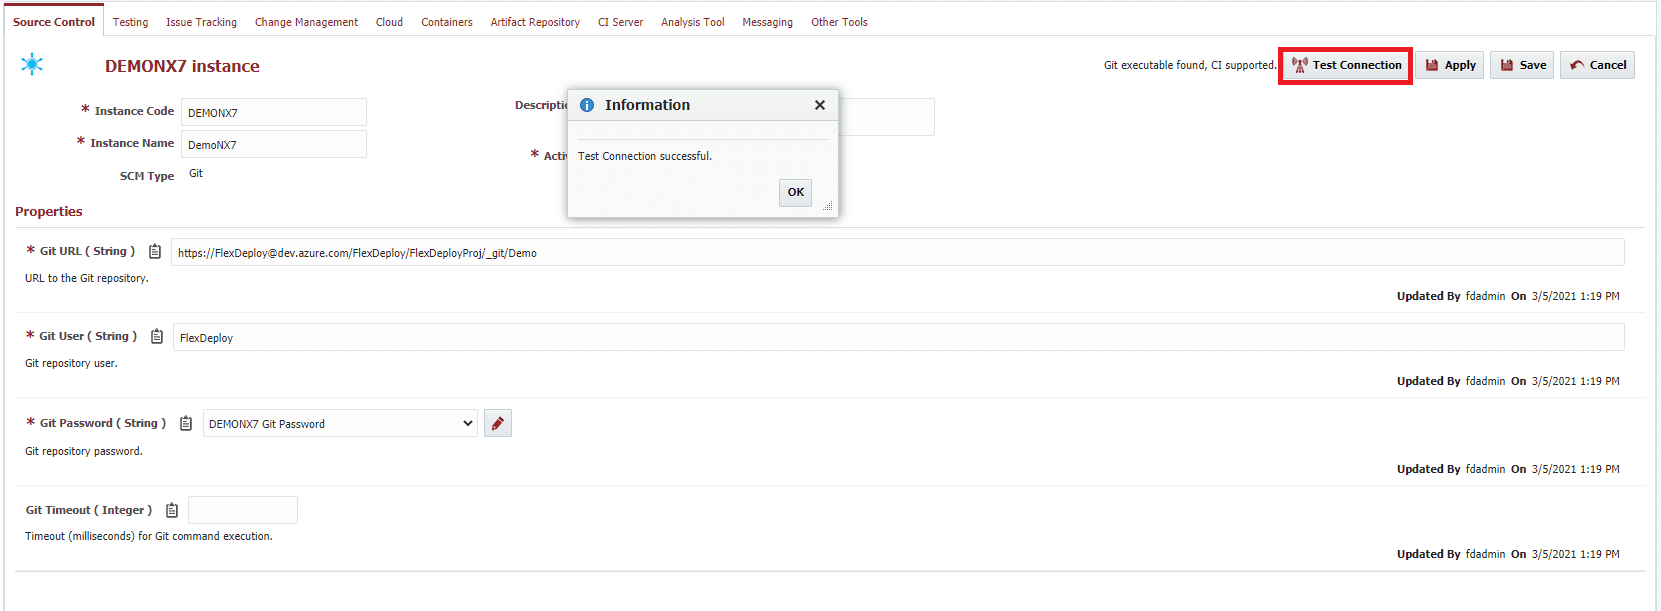
Once that is complete, continue to enter in the information for the Blueprint. After creating the project we can view our new SCM instance by going to the Topology tab and Integrations. You can see that this instance will use your organization name as well as your personal access token to connect to the repository.
To ensure that connection is setup correctly, click the “Test Connection” button on the top right.
Conclusion
You have successfully created a SCM instance to reference your Azure repository and configured that SCM instance on a FlexDeploy project using Blueprints!
Check out the related resources below for more.